

Persistent Volume Claims
Persistent Volume Claims are requests for Persistent Volume resources, which serve as storage volumes for workloads that require persistent storage.Volume attachments
When you create a Persistent Volume, Kubernetes binds the PV to aStorageClass defined in the PV’s manifest. The StorageClass tells Kubernetes how to set up the storage volume, such as which CSI plugin to use and any options that plugin might need. After Kubernetes creates the PV for the given StorageClass, it schedules a Pod on a Node. Kubernetes then takes a hash of the Node name, PV name, and CSI plugin name to create a Volume Attachment with its name as this hash.
VolumeAttachment objects don’t belong to a namespace and can be accessed in the Cloud Console.Create PVCs
You can create PVCs using the Cloud Console or by deploying a PVC manifest usingkubectl. The following sections describe both approaches.
Create a PVC using the API
Use this method when you want to automate provisioning or check PVC definitions into source control. To create a Persistent Volume Claim, annotate the following YAML manifest to your specifications:
Configure the manifest as desired, save it to a
.yaml file, and apply it with kubectl. Replace [PVC-FILE] with the path to your manifest file.
[PVC-NAME] with the name you set in the manifest:
Example output
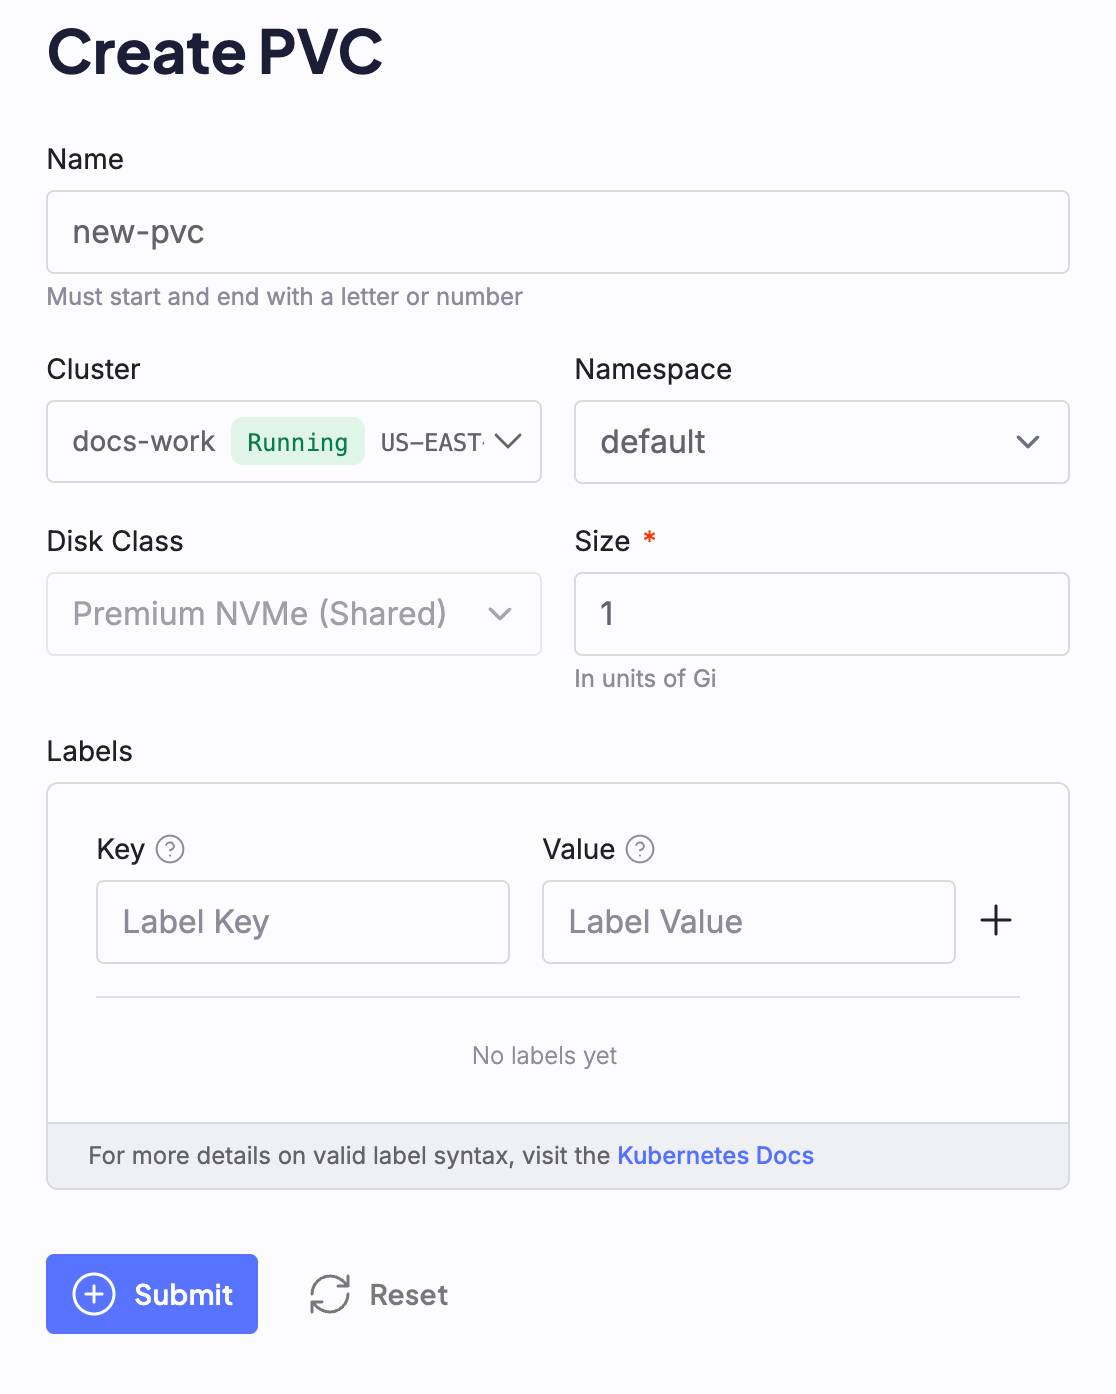
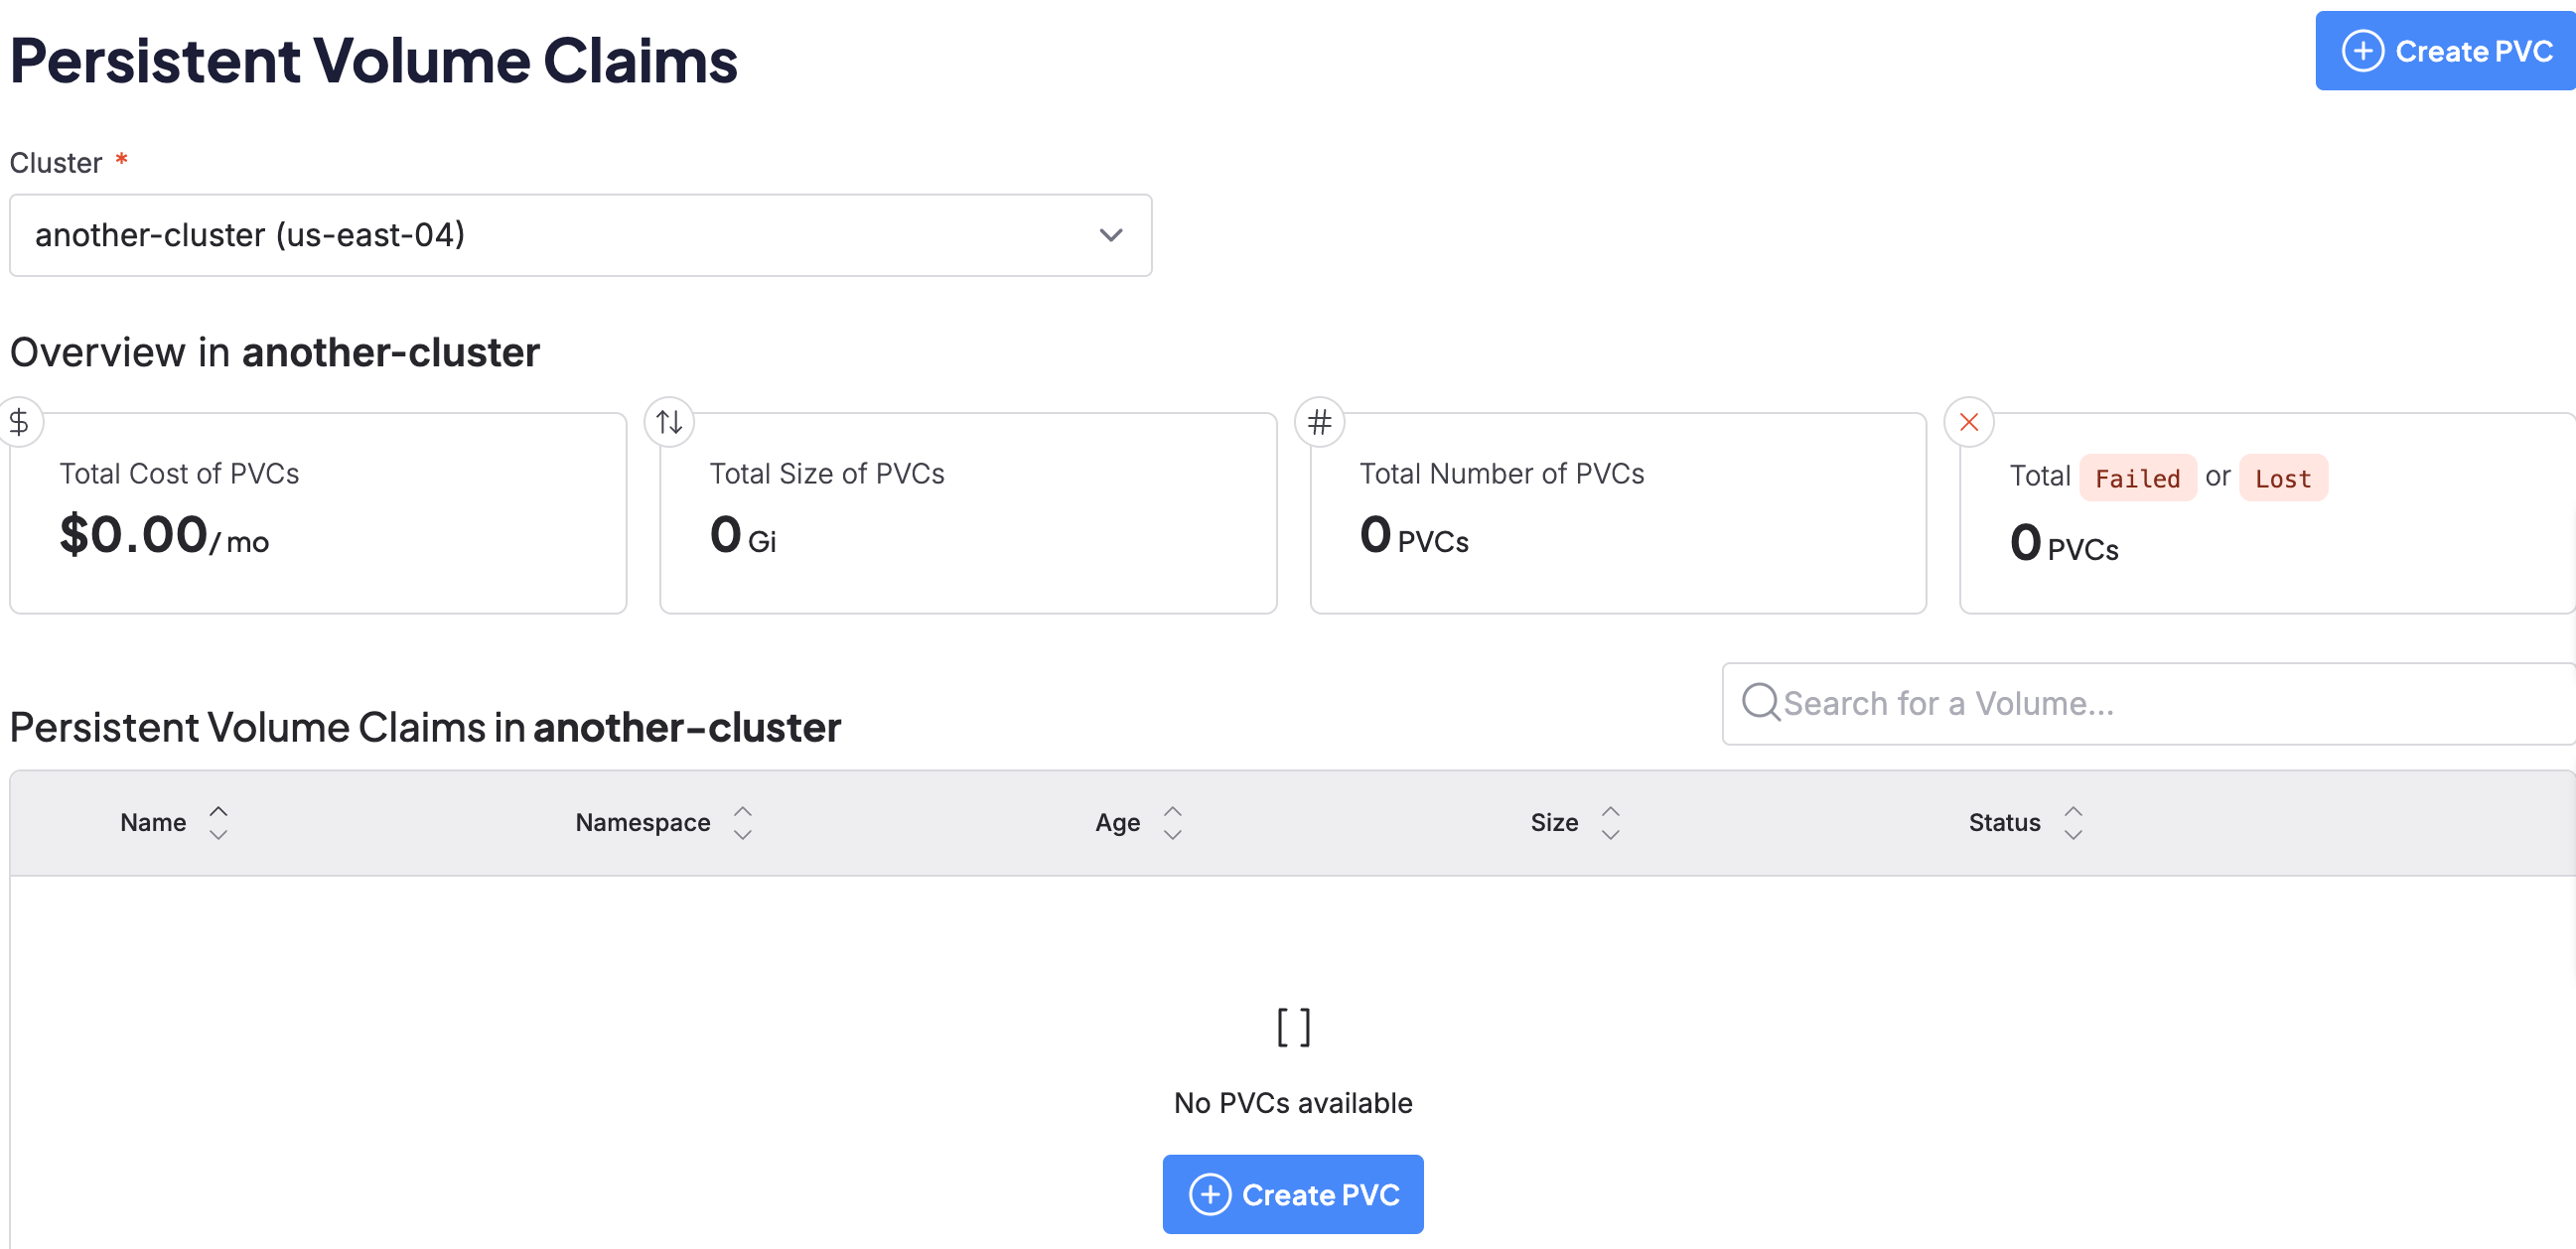
Create a PVC with the Cloud Console
You need access to an active CKS cluster to create a PVC using the Cloud Console. If you don’t have any clusters or don’t have access to any clusters, you see the following message: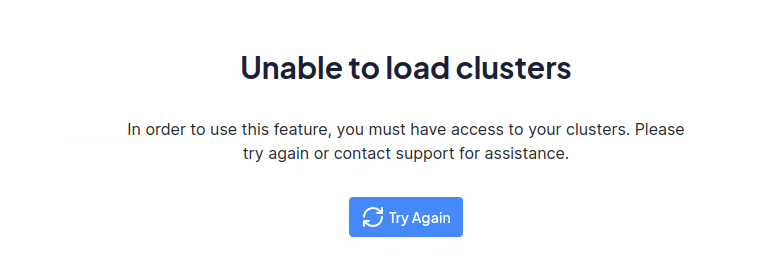
Manage PVCs
For creation, both API and Console approaches are common. For ongoing management tasks, the Console provides easier visualization and safety checks, so this section focuses on Console methods. The following sections describe permissions, editing, cloning, rebinding, and deletion.Work with PVCs
The groups you belong to dictate how you interact with PVC resources. As a non-admin, you can add PVCs through the UI or using the API, but your ability to access and edit them is limited to your permitted actions within your clusters. Administrators have greater powers over PVC resources. Users withadmin, write, and read Cluster RoleBindings can add and remove PVCs from the groups they’re in. Also, the default admin privileges let them manage those PVCs collectively. They can also use the following Console Actions inside their cluster:
- Edit
RoleBindings. - Create and modify RBAC schemes that allow a chosen group or groups access to resources. These can be as general as a resource type, or as specific as a particular PVC.
Edit volumes
To edit a PVC, click the three-dot menu on the far right of the PVCs listing on the Overview page, then click Edit. Enter the desired changes in the pop-up modal.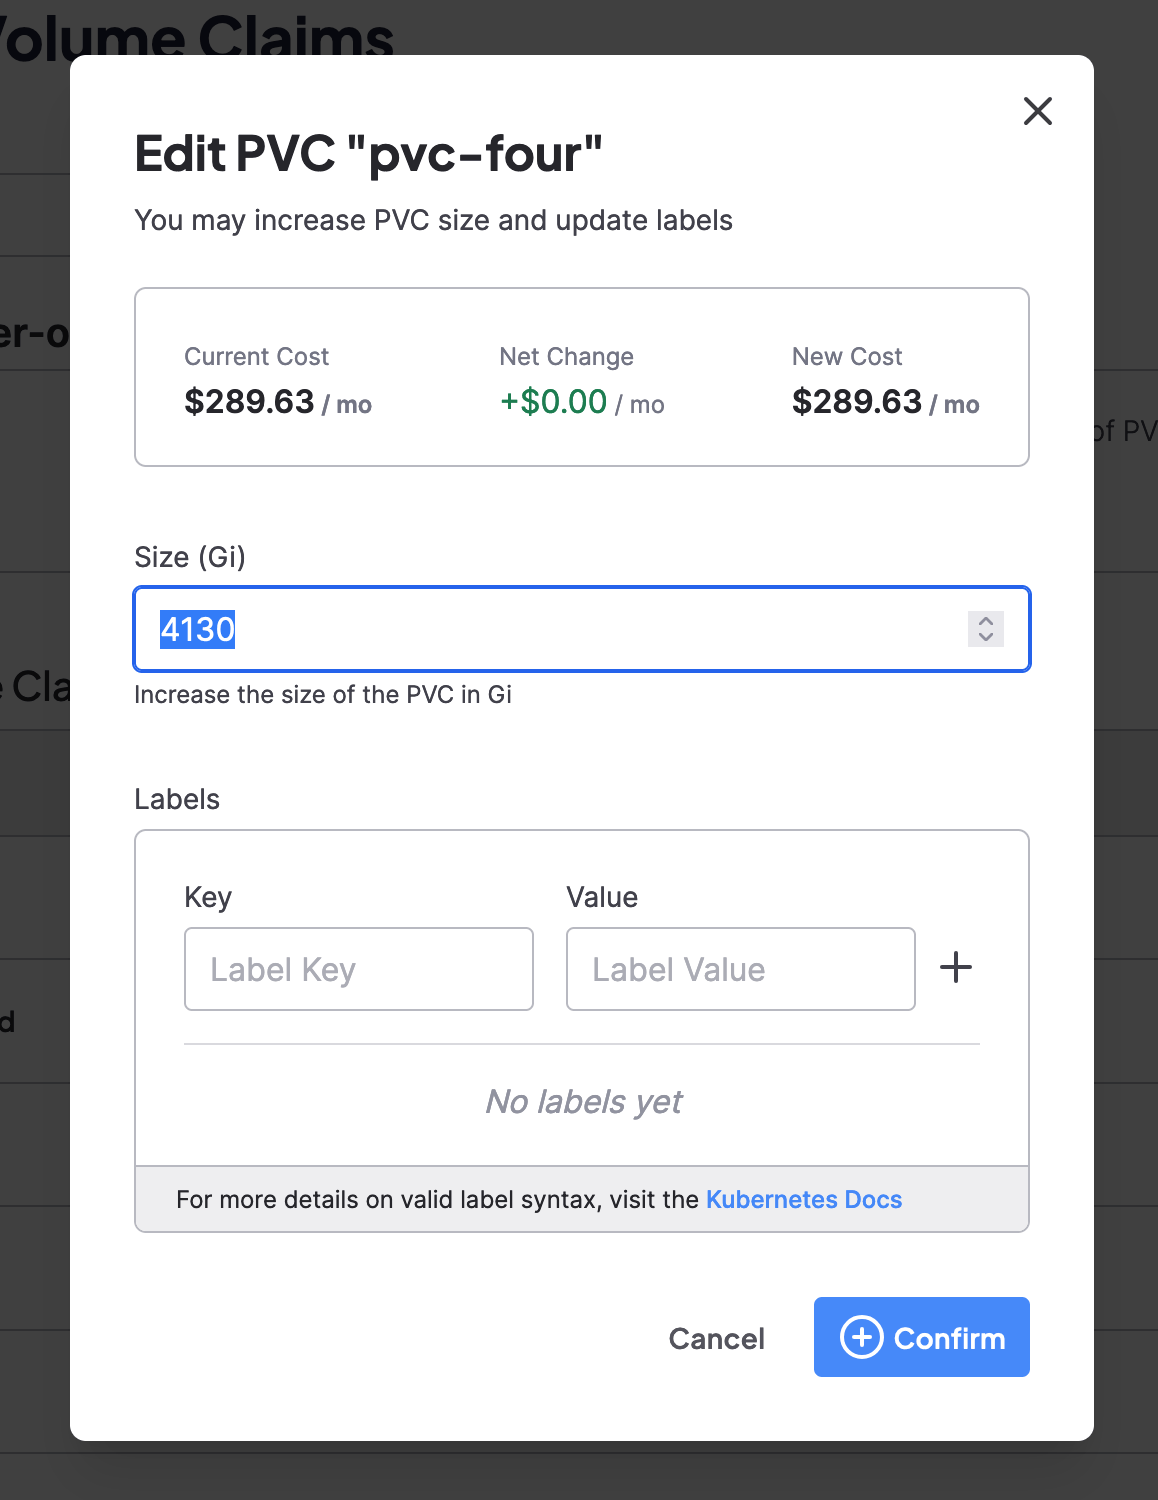
Clone PVCs
You can clone PVCs if you have write permissions. Click the Clone button from the PVC’s three-dot menu, and then enter a new name for the cloned PVC. Click Confirm to provision a copy of the PVC in the user’s default namespace.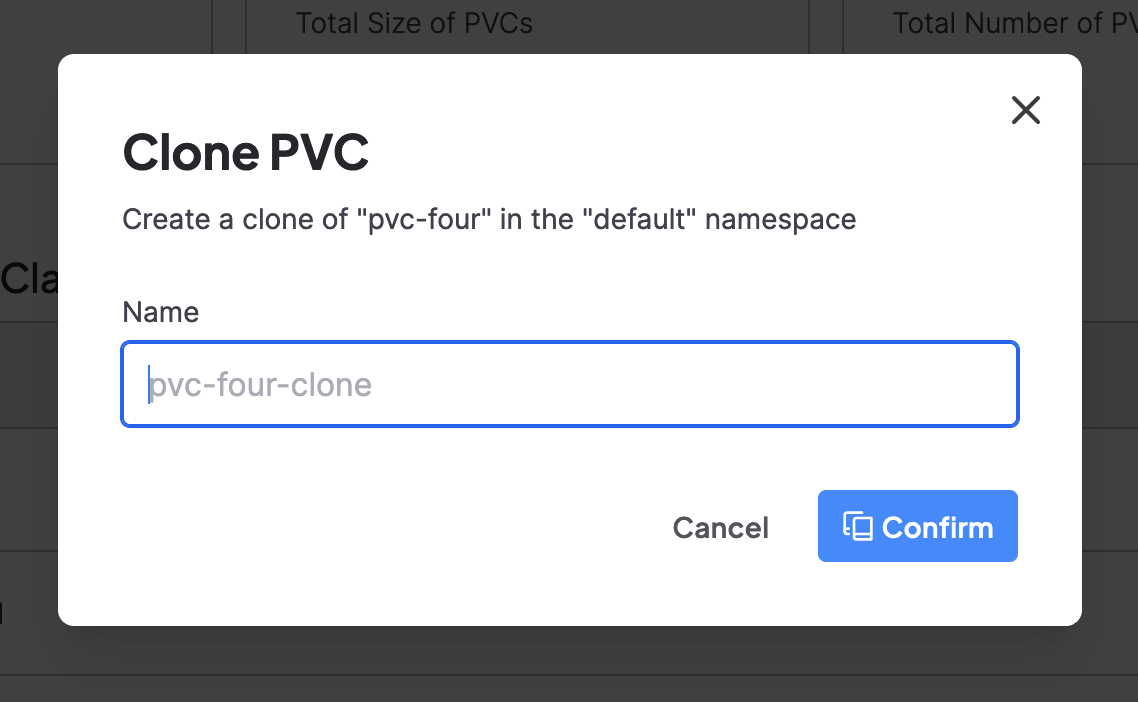
Bind a PVC to a new namespace
Rebinding a PVC makes an existing persistent volume’s storage available in a different namespace. This is useful when you need to migrate workloads or share storage across namespaces while preserving your data. CoreWeave provides therebind-pvc.sh utility script to automate this process. The script generates the necessary Kubernetes manifests to bind an existing PVC’s underlying storage volume to a new namespace.
For complete instructions, including installation, usage examples, and important teardown procedures, see the rebind-pvc.sh documentation on GitHub.
Important: Proper deletion orderWhen deleting rebound PVCs, always delete the child PVCs (in target namespaces) before deleting the original base PVC. CoreWeave’s Persistent Volume Management Operator (PVMO) deletes the underlying storage when you delete the base PVC, which can cause child PVCs to have stale volume handles and prevent Pods from shutting down gracefully.See the proper teardown procedure for details.
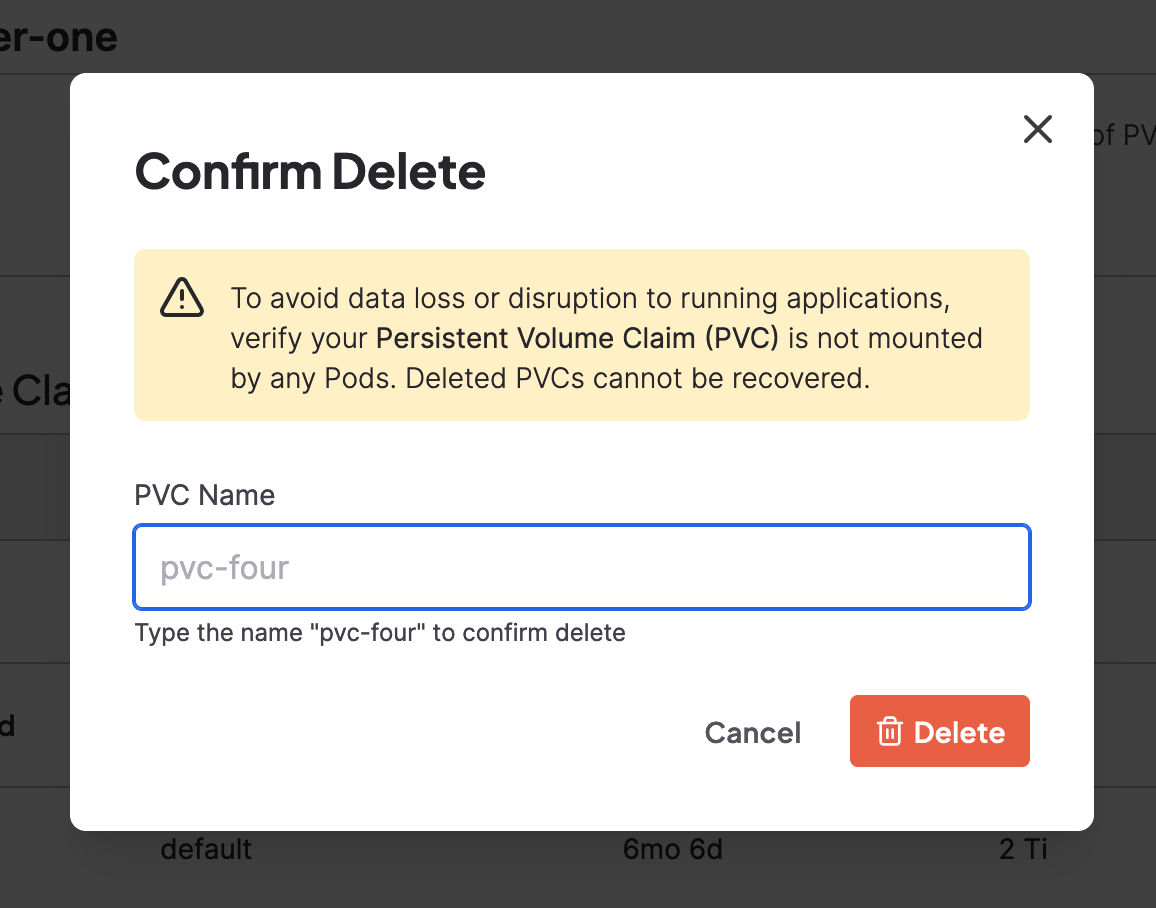
Delete a storage volume through the Cloud Console
Only users with
admin permissions can delete Storage Volumes.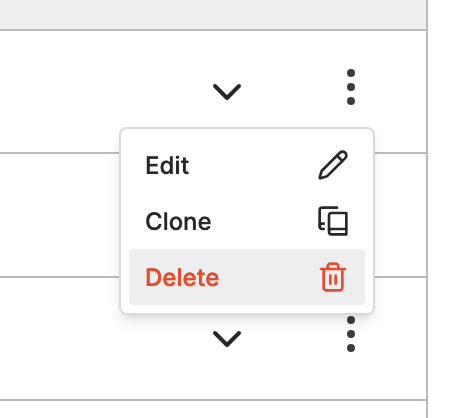
Performance optimization
After your volumes are in place, the following recommendations can help you get the best performance out of Distributed File Storage for common workloads.Avoid subPath mounts when possible
CoreWeave recommends mounting Distributed File Storage volumes onto your Pods without using a Kubernetes subPath. Mounting with subPath exposes only a subdirectory of the volume to the Pod, making certain Distributed File Storage features unavailable from inside the mount. The most notable example is the .vast_trash directory, which enables asynchronous, non-conflicting bulk deletes. For more information about how subPath affects deletion, see Delete Files with VAST trash.
If you have a use case that requires subPath mounts, contact CoreWeave Support for help.
Git performance
Git performance with Distributed File Storage can sometimes be slower than desired. The following best practices help enhance Git performance on Distributed File Storage.Enable parallel checkout
Enable parallel checkout by setting a desired number of parallel workers in your Git config (checkout.workers). The recommended number for working with Distributed File Storage is 16.
Enable untracked cache
Enable Git’s untracked cache.Define record sizes for TAR performance
When you use TAR (tar) for compression, setting the record size to 1M may help performance:
Setting the record size can also make
rsync more efficient. See the man page for tar for more information.