- Set the
accessModefor the PVC asReadWriteMany. - Set the storage class as
shared-vast. - Set the size to the desired size.
- Specify the namespace in the manifest, as PVCs are created and scoped to a namespace.
- Cloud Console
- kubectl
To create a Distributed File Storage volume in Cloud Console, you need access to an active CKS cluster. If you don’t have any clusters or don’t have access to any clusters, you see the following message: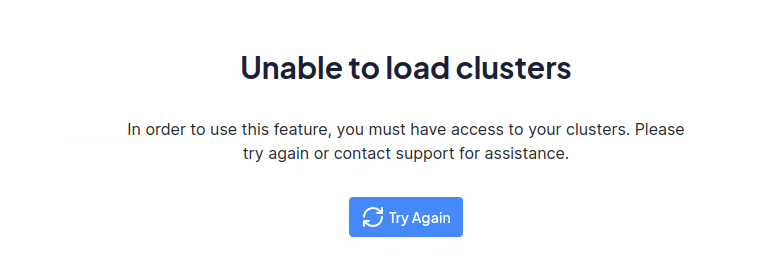
- If you have access to an active CKS cluster, navigate to the PVCs page (
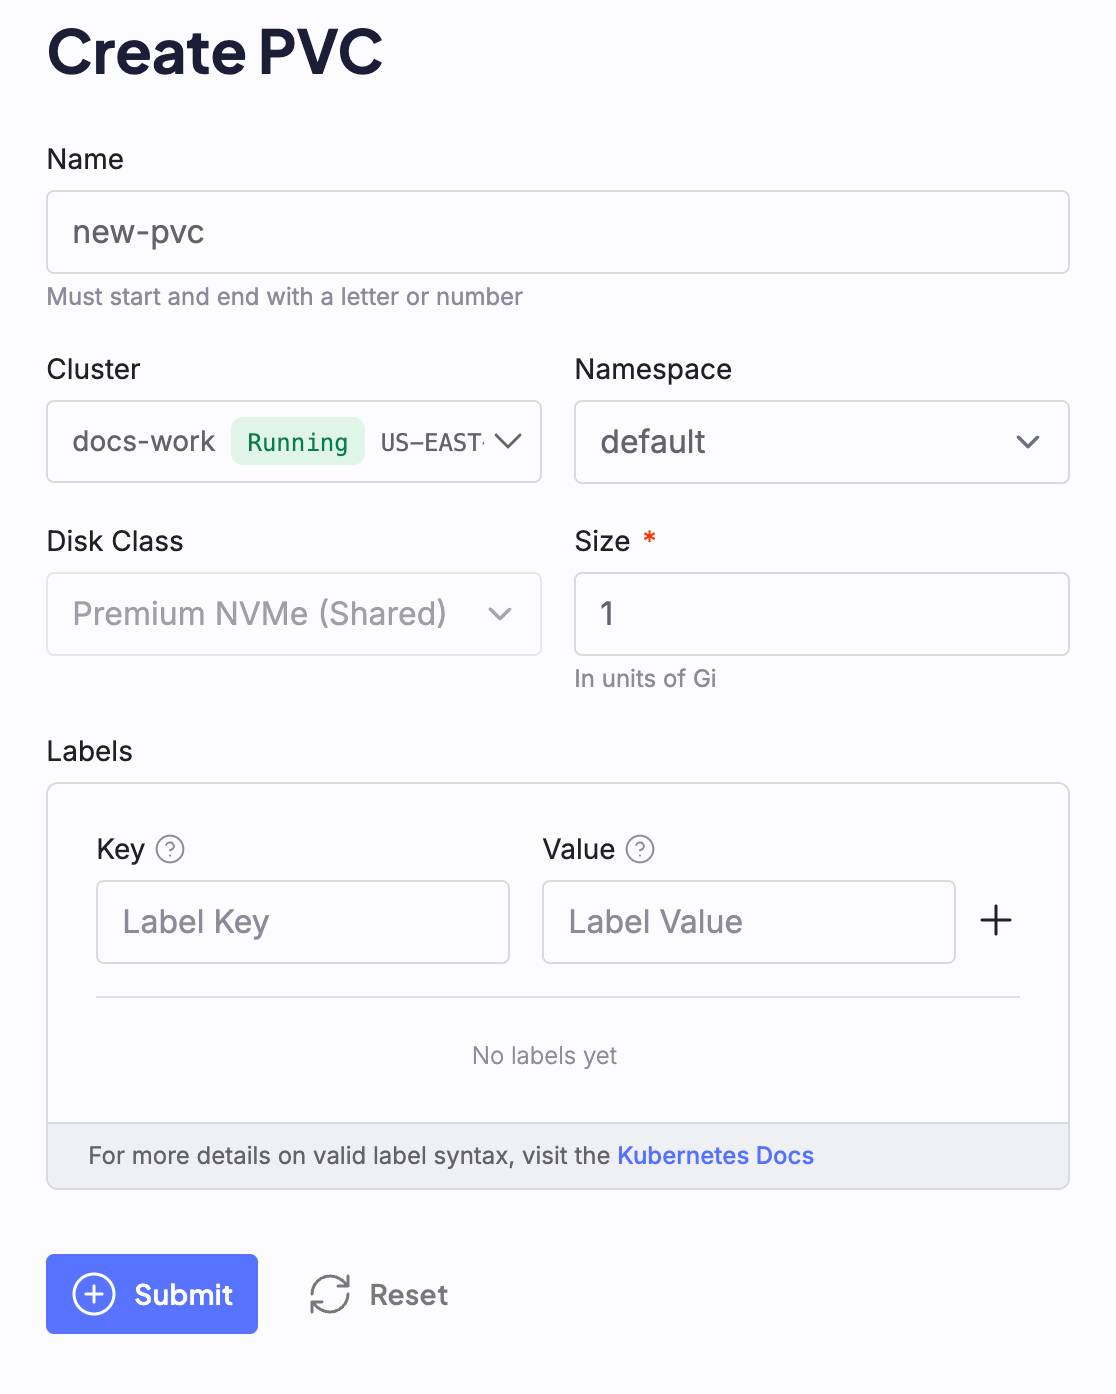
https://console.coreweave.com/zones/[ZONE-NAME]/clusters/[CLUSTER-NAME]/pvcs). - Click the Create PVC button at the top right corner of the page.
- Enter the desired name for the PVC in the Name field.
- Select the cluster where you want to deploy the PVC in the Cluster field.
- Select the namespace for the PVC in the Namespace field.
- The Disk Class dropdown may be pre-selected depending on the cluster you selected. If not, select the desired disk class from the dropdown.
- Set the size to the desired size in the Size field.
- Add labels to the PVC in the Labels field (Optional).
- Click Submit.
Attach volumes to Pods
After you create your PVC, the next step is to make it available to a workload by attaching it to a Pod. To attach a Distributed File volume to a Pod, specify themountPath and name under the volumeMounts stanza. Then, specify the volumes.name and the persistentVolumeClaim.claimName as shown in the following example:
sample-shared-fs-pod.yaml
kubectl:
Volumes section.
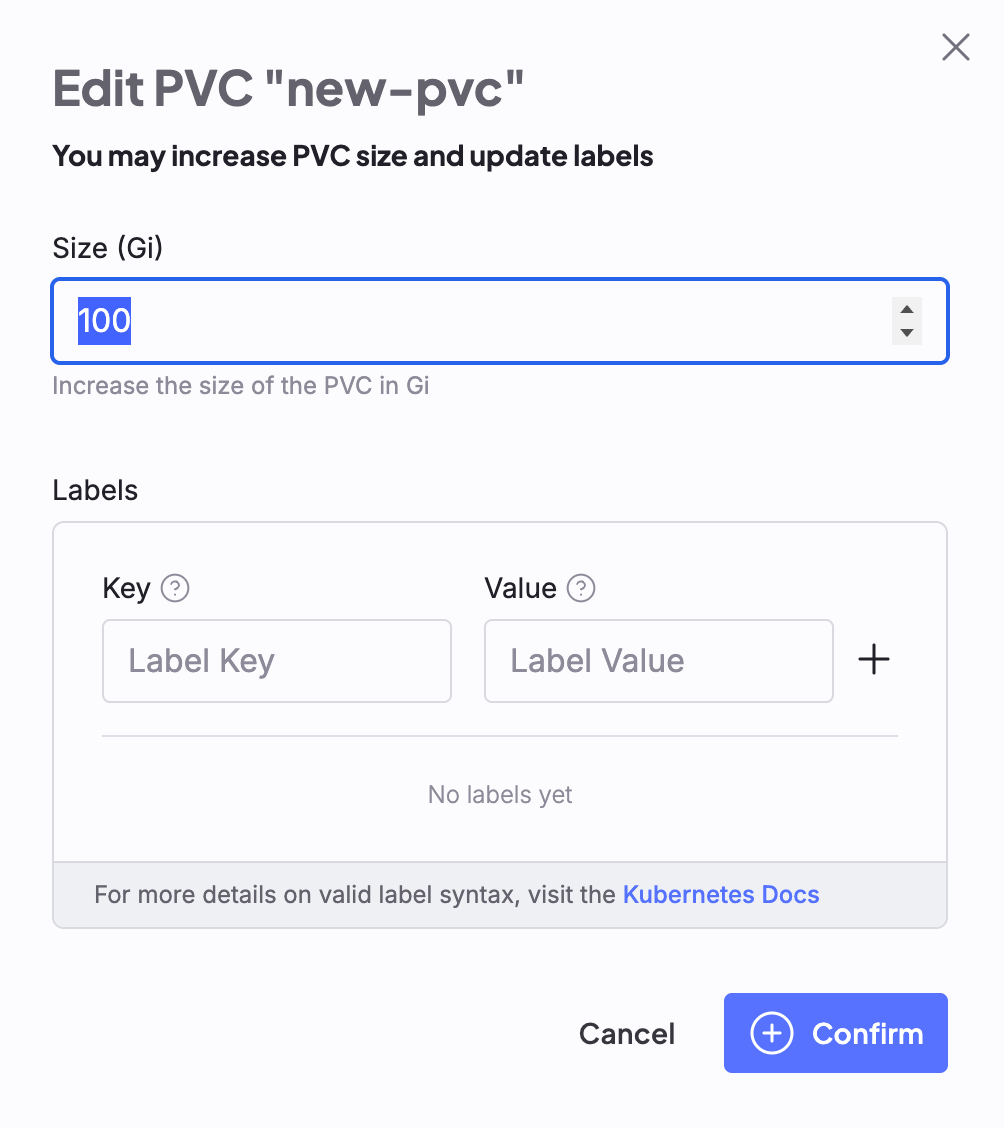
Change volume sizes
Storage needs change over time. After a volume is created and deployed, you can expand it or migrate to a smaller volume. You can’t reduce existing volumes in size. To use a smaller volume, create a new, smaller PVC and migrate your data manually.Expand volumes
You can expand deployed Distributed Filesystem Volumes without disrupting running workloads. After you’ve expanded a volume, you can’t downsize it.- Cloud Console
- kubectl
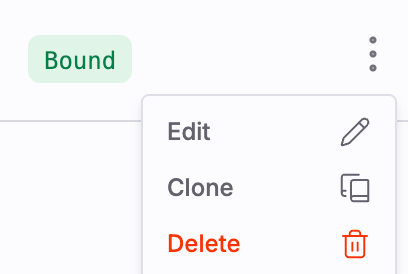
To expand a volume in Cloud Console, open the overflow menu (⋮) for the volume, then click Edit.