

Documentation Index
Fetch the complete documentation index at: https://docs.coreweave.com/llms.txt
Use this file to discover all available pages before exploring further.
Overview
This page explains how to provision users in CoreWeave Identity and Access Management (IAM) for SUNK so they receive POSIX identities, SSH keys, and Slurm accounts in your cluster. After you complete the steps here, you can continue tonsscache configuration so those identities are available on the cluster.
SUNK access management refers to the provisioning of users in your SUNK cluster. Provisioned users can connect over SSH to Login Nodes and Individual Login Pods, manage Slurm settings, and use Slurm commands to run experiments. At CoreWeave, this encompasses the flow of user identities from its source of truth to the creation of POSIX and Slurm identities in your SUNK cluster. This end-to-end flow is implemented by Automated User Provisioning (AUP) and SUNK User Provisioning (SUP). You can use SUP alongside or independently of AUP.
AUP connects your organization’s to CoreWeave IAM through SCIM, the modern standard for secure identity synchronization. AUP continuously syncs users and groups from an upstream IdP, such as Okta or Microsoft Entra. Any upstream changes, such as new users, role updates, or deletions, propagate automatically to CoreWeave IAM.
SUP provisions CoreWeave IAM data into SUNK, whether that data was federated from an IdP through AUP or manually created in the CoreWeave Cloud Console. SUP automatically creates POSIX users and groups, SSH keys, and Slurm users and accounts in your SUNK clusters as soon as a user is added directly to CoreWeave IAM or to an upstream IdP.
Provision users in CoreWeave IAM
The following sections describe how to get users into CoreWeave IAM. You can federate from an IdP with AUP, or create users manually in the Cloud Console. Follow the instructions for either method before configuring SUP so that SUP has IAM data to sync into the cluster.Prerequisites
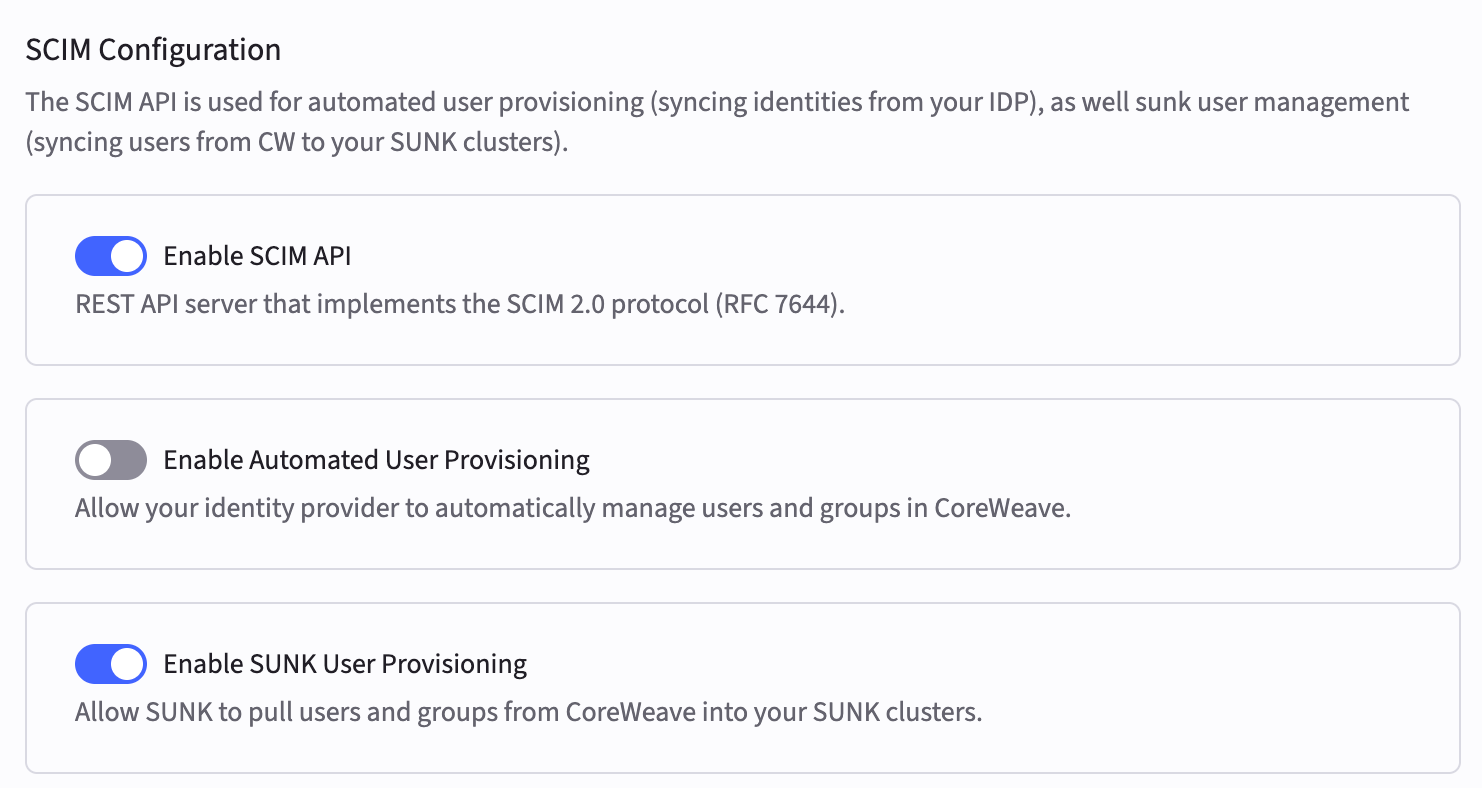
Before you provision users in CoreWeave IAM, enable the following settings on the SCIM Configuration page:- Enable SCIM API
- Enable SUNK User Provisioning
Provision users from an IdP into CoreWeave IAM
This section assumes you’re federating users from an IdP with AUP. Complete configure AUP with Okta or configure AUP with Microsoft Entra first so users and groups exist in CoreWeave IAM before you continue with the steps in this section.-
In the Cloud Console, navigate to the SCIM Configuration page.
-
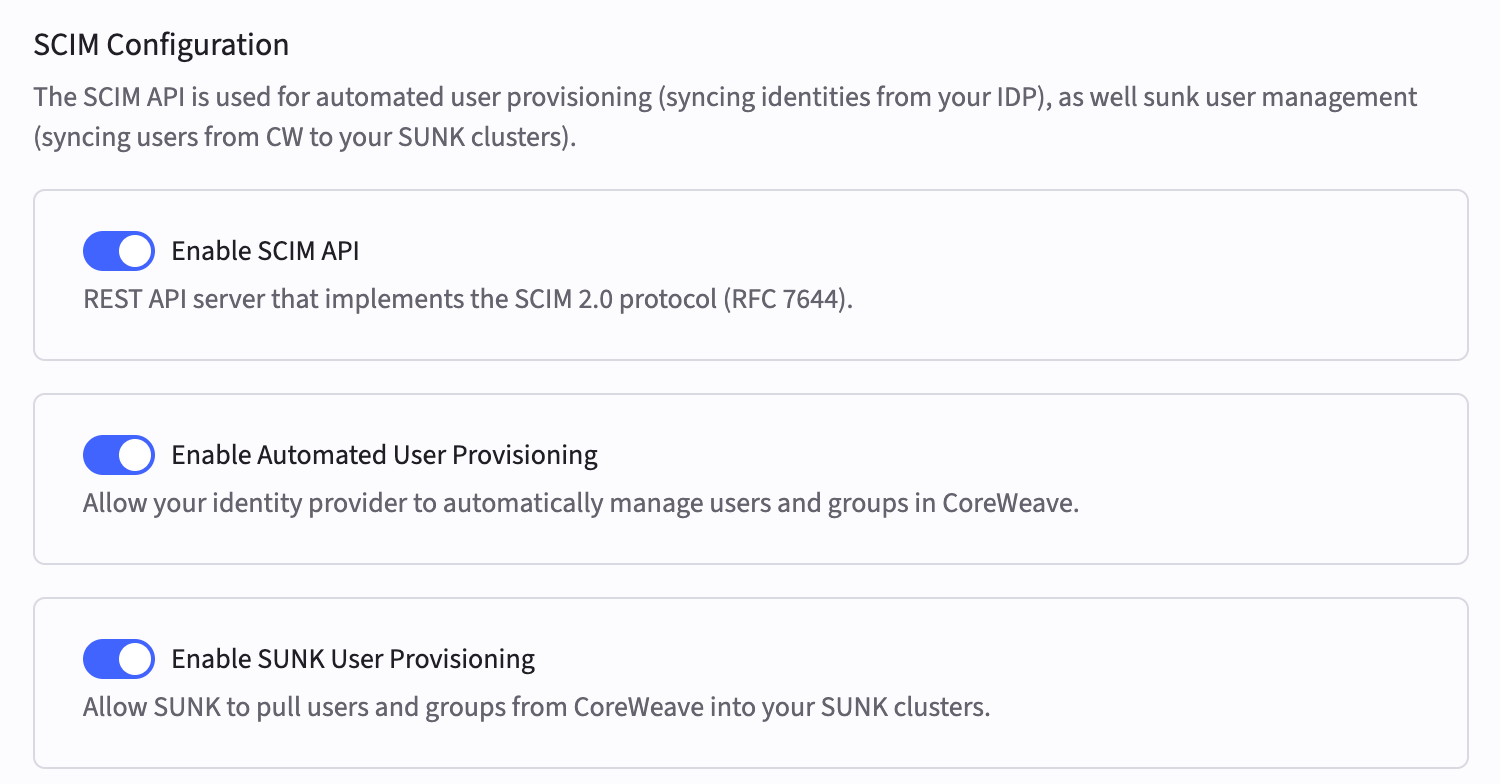
If Automated User Provisioning isn’t already enabled, click the toggle buttons to enable it. All three toggles must be enabled if you’re federating from an IdP.
-
In your IdP, create a custom attribute for SSH public keys and map it to CoreWeave’s SCIM endpoint. CoreWeave IAM needs this mapping so SUP can install the correct keys on the cluster. The attribute mapping must meet these requirements:
For IdP-specific setup instructions, see:
Requirement Value Attribute name sunkSshKeys(must be exact)SCIM namespace urn:coreweave:params:scim:schemas:extension:coreweave:2.0:CoreWeaveUserData type String (the SCIM endpoint accepts a single key or a list of keys) - In your IdP, navigate to the target user’s profile and add their SSH public key to the custom attribute you created.
- In the Provisioning section of your IdP, verify that the SSH key attribute is included in the attribute mappings for the CoreWeave application.
-
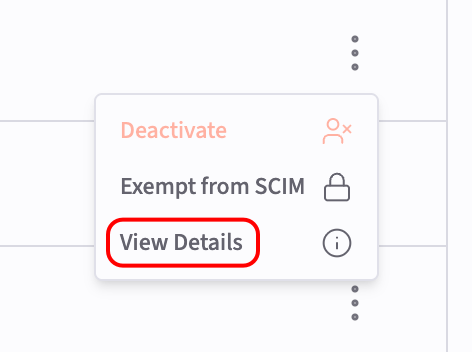
In the Cloud Console, navigate to the Users page to view a list of all users in your cluster. Click the three-dot menu icon to the right of the target user’s name, and then click View Details.
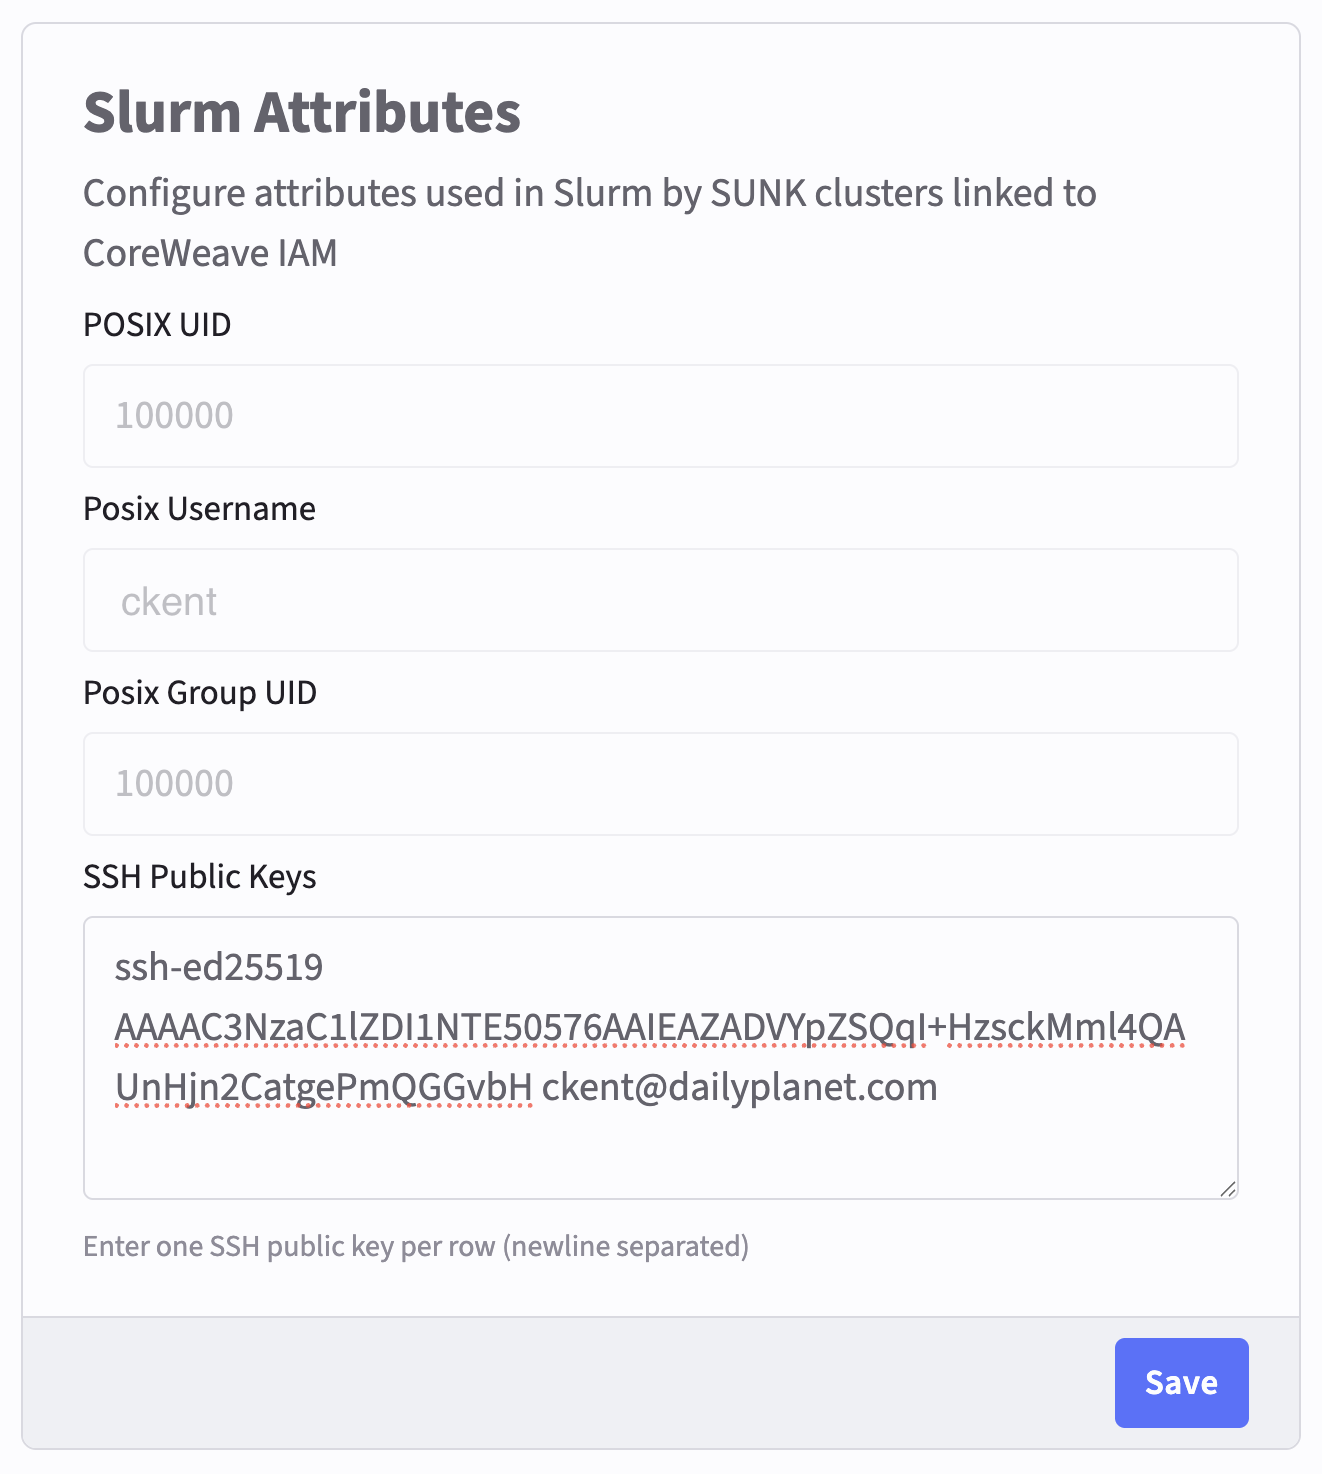
- Verify that the SSH Keys field under Slurm Attributes contains the SUNK public SSH key that you added in your IdP. When you use AUP, this field automatically synchronizes with CoreWeave IAM whenever changes are made in your IdP. You can manually edit this field in the CoreWeave Cloud Console to temporarily change the key, but the next synchronization overwrites the value. Don’t rely on manual updates for persistent SSH key configuration when using AUP.
-
Continue to
nsscacheconfiguration. At this point, federated users should appear in CoreWeave IAM with SSH keys that SUP can propagate to SUNK. For more information about AUP and integrating it with other CoreWeave services, see the Automated User Provisioning guide.
Provision users directly in CoreWeave IAM
-
In the Cloud Console, navigate to the SCIM Configuration page.
-
If they aren’t already enabled, click the toggle buttons to enable the following settings:
- Enable SCIM API
- Enable SUNK User Provisioning
-
Each user who needs cluster access must add at least one public SSH key to the SSH Keys field of the Slurm Attributes section in their Settings page. They can find this page through the profile icon at the top right of the CoreWeave Cloud Console.
To add multiple keys, enter one per line (newline-separated), not comma-separated. If the Slurm Attributes section doesn’t appear in their Settings page, verify that SUNK User Provisioning is enabled on the SCIM Configuration page.
-
Continue to
nsscacheconfiguration. Users who added SSH keys in their Settings page are ready for SUP to create matching POSIX and Slurm identities on the cluster.
Slurm user attributes
SUP automatically creates a POSIX User ID (UID), POSIX Group ID (GID), and POSIX username when a user is provisioned in CoreWeave IAM either through AUP or manual creation. Users can view these details in the Slurm Attributes section of their Settings page. They can open this page through the profile icon at the top right of the Cloud Console. Admins can view this information on the Users page of the Cloud Console. Click the vertical dot menu icon to the right of a user’s name, and then click View Details.Create SUNK user groups
Group names in CoreWeave IAM must match the names you reference in thensscache configuration.
If you’re federating users from an IdP, you can create your user groups there. AUP automatically syncs groups into CoreWeave IAM.
If you aren’t federating users from an IdP, create your user groups in the CoreWeave Cloud Console:
-
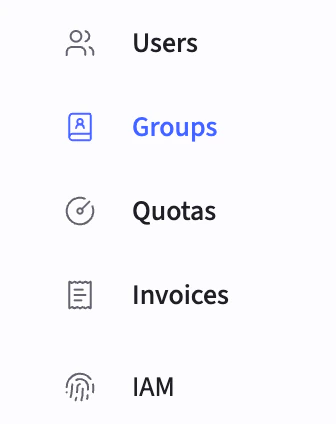
In the CoreWeave Cloud Console, navigate to the Groups tab in the left sidebar.
-
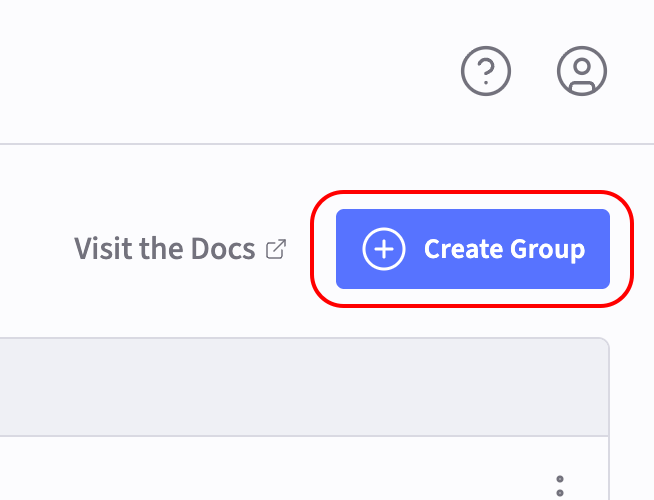
Click the Create Group button at the top right of the page.
-
Enter the group name and click Create. These group names must match the names of the groups specified in the
nsscacheconfiguration. Each new group automatically receives a GID.