
Documentation Index

Fetch the complete documentation index at: https://docs.coreweave.com/llms.txt

Use this file to discover all available pages before exploring further.

This guide shows you how to deploy self-hosted GitHub Actions runners on SUNK using Actions Runner Controller (ARC).
Controller VersionThis documentation describes deploying ARC version 0.13.0, which uses the modern autoscaling architecture with AutoscalingRunnerSet resources. This is the recommended approach maintained by GitHub.

Prerequisites

  • Access to a SUNK cluster with Kubernetes
  • Cluster admin access or permissions to create namespaces and deploy applications
  • A GitHub organization or repository where you want to register runners
  • GitHub organization admin permissions (for creating GitHub Apps)
  • For GPU runners: A SUNK cluster with the SUNK Pod Scheduler deployed

Create a GitHub App

ARC authenticates to GitHub using a GitHub App. Follow these steps to create one:
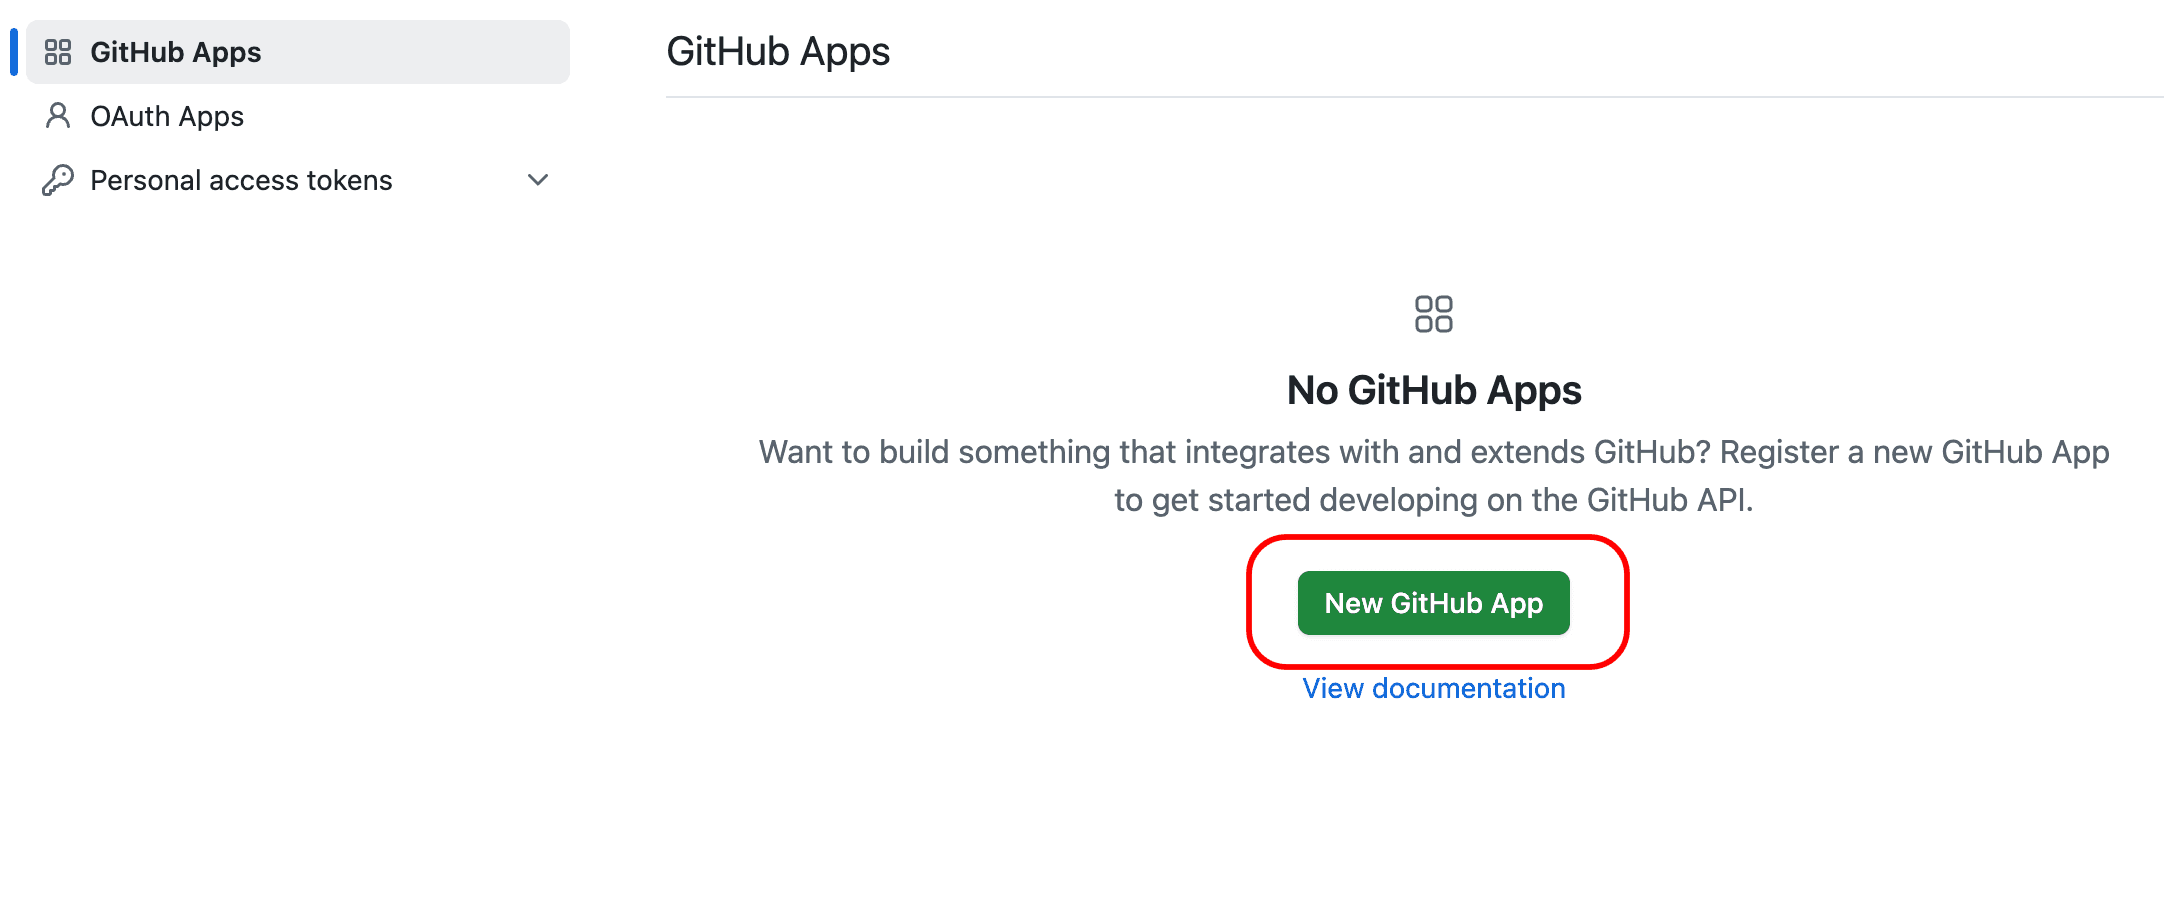
  1. Navigate to your GitHub organization settings, select Developer settings, then GitHub Apps, and then select New GitHub App: GitHub app page for creating a new app.
  2. Configure the GitHub App:
    • GitHub App name: Choose a name, for example, arc-controller.
    • Homepage URL: Use your organization URL.
    • Webhook: Uncheck “Active” (not needed for basic setup).
  3. Set the following permissions: Repository permissions
    PermissionAccess LevelNotes
    ActionsRead
    AdministrationRead & writeRequired for managing self-hosted runners.
    MetadataRead
    Organization permissions
    PermissionAccess LevelNotes
    Self-hosted runnersRead and writeRequired for organization-level runners.
  4. Select Create GitHub App.
  5. Note and save the App ID from the app details page.
  6. Generate and download a private key by going to the Private keys section and selecting Generate a private key. Save the downloaded .pem file.
  7. Install the GitHub App:
    • In the left sidebar, select Install App.
    • Select your organization.
    • Choose All repositories or specific repositories.
    • Note the Installation ID from the URL (for example, https://github.com/organizations/YOUR_ORG/settings/installations/12345678. The number is your Installation ID).

Deploy ARC Controller

Create the configuration files for deploying the ARC controller in your GitOps repository.
  1. Create the namespace configuration in the following directory namespaces/actions-runner-system.yaml
    namespaces/actions-runner-system.yaml
    apiVersion: v1
    kind: Namespace
    metadata:
      name: actions-runner-system
    
  2. Deploy the manifest:
    kubectl apply -f actions-runner-system.yaml
    
  3. Create an Authentication Secret with your GitHub App credentials in the following directory secrets/arc/controller-manager.yaml:
    secrets/arc/controller-manager.yaml
    apiVersion: v1
    kind: Secret
    metadata:
      name: controller-manager
      namespace: actions-runner-system
    type: Opaque
    stringData:
      github_app_id: "YOUR_APP_ID"
      github_app_installation_id: "YOUR_INSTALLATION_ID"
      github_app_private_key: |
        YOUR_PRIVATE_KEY_CONTENT
    
    Replace the following with your values:
    • YOUR_APP_ID with your GitHub App ID
    • YOUR_INSTALLATION_ID with the installation ID from the URL
    • YOUR_PRIVATE_KEY_CONTENT with your actual private key content
  4. Create the Helm values file for the controller in the arc/controller-values.yaml directory.
    arc/controller-values.yaml
    affinity:
      nodeAffinity:
        requiredDuringSchedulingIgnoredDuringExecution:
          nodeSelectorTerms:
            - matchExpressions:
                - key: node.coreweave.cloud/class
                  operator: In
                  values:
                    - cpu
    resources:
      requests:
        cpu: 100m
        memory: 90Mi
      limits:
        cpu: 16
        memory: 64Gi
    
  5. Add the ARC controller to your ArgoCD Applications manifest:
    Apps.yaml
    arc-controller:
      enabled: true
      namespace: actions-runner-system
      clusters:
        - name: your-cluster-name
      source:
        repoURL: "ghcr.io/actions/actions-runner-controller-charts"
        chart: "gha-runner-scale-set-controller"
        targetRevision: "0.13.0"
        helm:
          releaseName: "arc-controller"
          valueFiles:
            - "arc/controller-values.yaml"
    
  6. Commit and push the changes to deploy the controller. Verify it’s running:
    kubectl get pods -n actions-runner-system
    
    You should see the controller pod with status Running.

Configure Runner Scale Sets

You can deploy multiple runner scale sets for different workload types. Below are examples for CPU and GPU runners.

CPU Runners

  1. Create a values file for CPU runner scale sets in the arc/cpu-runner-values.yaml directory:
    arc/cpu-runner-values.yaml
    githubConfigUrl: "https://github.com/YOUR_ORG"
    githubConfigSecret: "controller-manager"
    
    template:
      spec:
        affinity:
          nodeAffinity:
            requiredDuringSchedulingIgnoredDuringExecution:
              nodeSelectorTerms:
                - matchExpressions:
                    - key: node.coreweave.cloud/class
                      operator: In
                      values:
                        - cpu
        containers:
          - name: runner
            image: ghcr.io/actions/actions-runner:latest
            command: ["/home/runner/run.sh"]
            resources:
              requests:
                cpu: "16"
                memory: 32Gi
              limits:
                cpu: "62"
                memory: 220Gi
    
    Replace the following with your values:
    • YOUR_ORG with your GitHub organization name.
    • For repository-level runners, use: https://github.com/YOUR_USERNAME/YOUR_REPO
    • For enterprise runners, use: https://github.com/enterprises/YOUR_ENTERPRISE
  2. Add the CPU runner scale set to your ArgoCD Applications:
    Apps.yaml
    arc-runner-cpu:
      enabled: true
      namespace: actions-runner-system
      clusters:
        - name: your-cluster-name
      source:
        repoURL: "ghcr.io/actions/actions-runner-controller-charts"
        chart: "gha-runner-scale-set"
        targetRevision: "0.13.0"
        helm:
          releaseName: "arc-runner-cpu"
          valueFiles:
            - "arc/cpu-runner-values.yaml"
    

GPU Runners with SUNK Pod Scheduler

For GPU workloads that need SUNK Pod Scheduler integration, you’ll need to create both a pod template ConfigMap and a values file.
  1. Configure Your SUNK Pod Scheduler Name Replace YOUR_SCHEDULER_NAME with your SUNK Pod Scheduler name. The default format is typically <namespace>-<releaseName>-slurm-scheduler (for example, tenant-slurm-slurm-scheduler). To find your scheduler name, run the following command:
    kubectl get pods -l app.kubernetes.io/name=sunk-scheduler -n tenant-slurm -o json | \
    jq -r '.items[0].spec.containers[] | select(.name=="scheduler") | .args[] | select(startswith("--scheduler-name=")) | sub("^--scheduler-name="; "")'
    
    For details on SUNK Pod Scheduler configuration and annotations, see SUNK Pod Scheduler.
  2. Create a Pod Template ConfigMap. ARC supports container hooks that allow you to customize the pod specification for job containers. Create a ConfigMap with pod templates in the arc/supporting/podtemplates.yaml directory:
    arc/supporting/podtemplates.yaml
    apiVersion: v1
    kind: ConfigMap
    metadata:
      name: arc-podtemplates
      namespace: actions-runner-system
    data:
      gpu.yaml: |
        metadata:
          # These options are specific to SUNK and will need to be adjusted based on your environment.
          annotations:
            sunk.coreweave.com/account: root
            sunk.coreweave.com/comment: github-actions
            sunk.coreweave.com/partition: hpc-high
        spec:
          nodeName: "" # This is not a typo, leave this a blank string
          schedulerName: YOUR_SCHEDULER_NAME # Replace with your scheduler's name.
          nodeSelector:
            node.coreweave.cloud/class: gpu
          affinity:
            nodeAffinity:
              requiredDuringSchedulingIgnoredDuringExecution:
                nodeSelectorTerms:
                  - matchExpressions:
                      - key: gpu.nvidia.com/class
                        operator: In
                        values:
                          - H100 # Update to whatever GPU class you have in your cluster
          tolerations:
            - key: is_gpu_compute
              operator: Exists
          containers:
            - name: $job # This needs to be the literal string '$job'
              resources:
                requests:
                  cpu: "16"
                  memory: "32Gi"
                  nvidia.com/gpu: "8"
                limits:
                  cpu: "64"
                  memory: "256Gi"
              nvidia.com/gpu: "8"
    
  3. Add this as a supporting application to deploy the ConfigMap:
    Apps.yaml
    arc-supporting:
      enabled: true
      namespace: actions-runner-system
      clusters:
        - name: your-cluster-name
      source:
        repoURL: "your-gitops-repo-url"
        path: arc/supporting
        targetRevision: "main"
        directory:
          recurse: true
      syncPolicy:
        automated:
          prune: true
          selfHeal: true
    
  4. Create a values file for GPU runners. This configuration uses ARC’s container mode with Kubernetes container hooks to apply the SUNK scheduler pod template to job containers:
    arc/gpu-runner-values.yaml
    githubConfigUrl: "https://github.com/YOUR_ORG"
    githubConfigSecret: "controller-manager"
    
    containerMode:
      type: "kubernetes"
      kubernetesModeWorkVolumeClaim:
        accessModes:
          - ReadWriteMany
        resources:
          requests:
            storage: 10Gi # How much scratch space each runner will have by default
        storageClassName: shared-vast
    
    template:
      spec:
        containers:
          - name: runner
            image: ghcr.io/actions/actions-runner:latest
            command: ["/home/runner/run.sh"]
            env:
              - name: ACTIONS_RUNNER_CONTAINER_HOOKS
                value: /home/runner/k8s/index.js
              - name: ACTIONS_RUNNER_CONTAINER_HOOK_TEMPLATE
                value: /etc/arc/gpu.yaml
              - name: ACTIONS_RUNNER_REQUIRE_JOB_CONTAINER
                value: "true"
            volumeMounts:
              - name: arc-podtemplates
                mountPath: /etc/arc
                readOnly: true
        volumes:
          - name: arc-podtemplates
            configMap:
              name: arc-podtemplates
    
    The container mode configuration enables the following:
    ValueDescription
    ACTIONS_RUNNER_CONTAINER_HOOKSActivates Kubernetes container hooks for the runner.
    ACTIONS_RUNNER_CONTAINER_HOOK_TEMPLATEPoints to the pod template that contains SUNK scheduler configuration.
    ACTIONS_RUNNER_REQUIRE_JOB_CONTAINEREnsures jobs run in containers with the pod template applied. This will require you to use the container: feature in your workflow. You can read more at Running jobs in a container.
    kubernetesModeWorkVolumeClaimProvides persistent storage for job workspaces.
    This allows GitHub Actions jobs to run as separate pods with SUNK scheduler annotations and GPU resources applied via the pod template.
  5. Add the GPU runner scale set to your ArgoCD Applications:
    Apps.yaml
    arc-runner-gpu:
      enabled: true
      namespace: actions-runner-system
      clusters:
        - name: your-cluster-name
      source:
        repoURL: "ghcr.io/actions/actions-runner-controller-charts"
        chart: "gha-runner-scale-set"
        targetRevision: "0.13.0"
        helm:
          releaseName: "arc-runner-gpu"
          valueFiles:
            - "arc/gpu-runner-values.yaml"
    
  6. Commit and push to deploy the runner scale sets.

Use Runners in Workflows

Target your self-hosted runners in GitHub Actions workflows using the runs-on key with the runner scale set name.
Runner Scale Set NamesThe runs-on value must match your Helm release name:
  • arc-runner-cpu corresponds to helm install arc-runner-cpu ...
  • arc-runner-gpu corresponds to helm install arc-runner-gpu ...
CPU runners:
name: CPU Runner
on: [push]

jobs:
  sample:
    runs-on: arc-runner-cpu # Name of RunnerSet
    steps:
      - uses: actions/checkout@v5
      - run: echo "Running on CPU runner"
GPU runners:
name: GPU Runner

on: [push]

jobs:
  sample:
    runs-on: arc-runner-gpu # Name of RunnerSet
    container:
      image: "nvidia/cuda:13.0.1-cudnn-devel-ubuntu24.04"
    steps:
      - uses: actions/checkout@v5
      - name: nvidia-smi
        run: |
          nvidia-smi

      - name: Install the latest version of uv
        uses: astral-sh/setup-uv@v7

      - name: Test PyTorch GPU Access
        if: always()
        run: |
          UV_TORCH_BACKEND=auto uv run --with torch python -c "import torch; print(f'PyTorch version: {torch.__version__}'); print(f'CUDA available: {torch.cuda.is_available()}'); print(f'CUDA device count: {torch.cuda.device_count()}'); [print(f'GPU {i}: {torch.cuda.get_device_name(i)}') for i in range(torch.cuda.device_count())] if torch.cuda.is_available() else print('No GPUs detected by PyTorch')"

Verify Installation

Check that the runner scale set is deployed:
kubectl get autoscalingrunnersets -n actions-runner-system
Check the listener pod:
kubectl get pods -n actions-runner-system -l app.kubernetes.io/name=gha-rs-listener
View listener logs to verify GitHub connection:
kubectl logs -n actions-runner-system -l app.kubernetes.io/name=gha-rs-listener --tail=20
When a workflow is triggered, you should see ephemeral runner pods created:
kubectl get pods -n actions-runner-system -w
For GPU runners, verify the SUNK scheduler is working:
kubectl get pods -n actions-runner-system -l app.kubernetes.io/component=runner -o yaml
Check that pods created by GPU workflows have the schedulerName set to your SUNK scheduler.

Scaling Configuration

Runner scale sets automatically scale based on workflow job demand:
SettingValue
Default minimum runners0 (no idle runners)
Default maximum runnersUnlimited
Scaling behaviorRunners are ephemeral and terminate after job completion
To customize scaling limits, add to your values file:
minRunners: 0
maxRunners: 10

Additional Resources

Last modified on March 13, 2026