Set up a Fortinet Firewall on CoreWeave Cloud
Fortinet
Currently, the only supported Fortinet Firewall product on CoreWeave Cloud is FGT_VM64_KVM.
CoreWeave is not currently not able to supply Fortinet licenses. Licenses will need to be purchased separately from Fortinet.
Setup
Before getting started on this guide, bear the following prerequisites in mind:
- You must have a Fortinet account in order to have access to FortiGate images.
- Your L2VPC must be created before the firewall is deployed.
Acquiring the FortiGate image
The FortiGate image must be imported into your CoreWeave namespace by downloading the image file from the Fortinet website, then imported using a Kubernetes manifest.
If you'd prefer some assistance in this process, reach out to your CoreWeave Support Specialist.
In the future, a selection of images will be available right from the Cloud, removing the need for a manual import.
First, navigate to the Fortinet Firmware Images and Software Releases catalog. From the drop-down menu, select the FortiGate product.
From the Download tab, select the FortiGate version you would like to download. In the example shown here, version 7.2.1 is selected.

Scroll down until the image file is accessible. In this example, the file is named FGT_VM64_KVM-v7.2.1.F-build1254-FORTINET.out.kvm.zip. Click on the filename to download the file.
Once the download is complete, extract the image file, then upload it to a publicly accessible URL, such as a CoreWeave Object Storage public bucket.
Importing the FortiGate image
The FortiGate image will be imported into a new block storage volume, which is created using a Kubernetes manifest such as the one described below.
The fields that comprise this manifest are:
| Option name | Description |
|---|---|
metadata.name | The name to assign to the block storage that will contain the FortiGate image |
metadata.namespace | Your namespace |
spec.source.http.url | The source URL for the unpacked QCOW2 image |
pvc | A storage device (PersistentVolumeClaim) will be created to import the image; this stanza configures that device |
pvc.accessModes | The access modes for the block storage to be created; see Storage for more information |
pvc.volumeMode | Specifies the type of storage volume this will be; for importing purposes, Block is appropriate |
storageClassName | The name to give the storage class |
resources.requests.storage | The size of the volume to be created |
Read our documentation on importing external images for more information.
Example manifest
apiVersion: cdi.kubevirt.io/v1beta1kind: DataVolumemetadata:name: fgt721namespace: tenant-examplespec:source:http:url: "http://example.com/fgt721.qcow2"pvc:accessModes:- ReadWriteOncevolumeMode: BlockstorageClassName: block-nvme-lga1resources:requests:storage: 2Gi
Applying the manifest
To apply the manifest and initialize the image import, use kubectl apply:
$kubectl apply -f fgt721-dv.yamldatavolume.cdi.kubevirt.io/fgt721 created
Verifying the import
The kubectl --watch command can be used to track the progress of your import:
$kubectl get --watch datavolume fgt721NAME PHASE PROGRESS RESTARTS AGEfgt721 Pending N/A 3sfgt721 ImportScheduled N/A 25sfgt721 ImportInProgress N/A 39sfgt721 ImportInProgress 0.00% 51sfgt721 ImportInProgress 10.57% 58sfgt721 ImportInProgress 49.75% 78s...fgt721 Succeeded 100.0% 97s
The import will go through four phases:
PendingImportScheduledImportInProgressSucceeded
Once the import has reached the Succeeded status, you are ready to proceed.
If the import does not start, refer to the importing external images documentation or reach out to your CoreWeave Support Specialist.
Deploying FortiGate
Now that the image is accessible within your CoreWeave namespace, we'll use a Kubernetes manifest to deploy the FortiGate instance.
The fields that comprise this manifest are:
| Option Name | Instructions |
|---|---|
metadata.name | The name to assign to the FortiGate Firewall |
spec.network.vpcs.name | The name of your VPC(s). Note: Multiple VPCs can be specified by adding additional - name: vpc items to the vpcs.name list |
spec.public | Specifies whether or not the CoreWeave networking IP should be publicly accessible; for most instances, this will be true |
resources | Correlates to the license you have purchased; refer to Fortinet's FortiGate-VM virtual licenses and resources guide for more information |
storage.root.source.pvc.name | The name of the data volume created earlier (for this example, fgt721) |
storage.root.source.pvc.namespace | Your namespace |
Example manifest
A complete manifest for deploying the FortiGate instance looks similar to the following example.
apiVersion: virtualservers.coreweave.com/v1alpha1kind: VirtualServermetadata:name: fgt-prod1spec:initializeRunning: truenetwork:vpcs:- name: vpc-lga1public: truedirectAttachLoadBalancerIP: trueos:definition: atype: linuxregion: LGA1resources:cpu:count: 1type: amd-epyc-milandefinition: amemory: 2Gistorage:root:accessMode: ReadWriteOncesize: 2Gisource:pvc:name: fgt721namespace: tenant-examplestorageClassName: block-nvme-lga1volumeMode: Block
Once this manifest is composed, use kubectl apply to apply the manifest and begin provisioning the instance:
$kubectl apply -f fgt-prod1.yamlvirtualserver.virtualservers.coreweave.com/fgt-prod1 created
To verify the deployment's status, use the --watch option:
$kubectl get --watch virtualserver fgt-prod1NAME STATUS REASON STARTED INTERNAL IP EXTERNAL IPfgt-prod1 Pending Waiting for DataVolume to be ready - CSICloneInProgress False 216.153.61.23fgt-prod1 Pending Waiting for VirtualMachineInstance to be ready False 216.153.61.23fgt-prod1 Pending Waiting for VirtualMachine to be ready False 216.153.61.23fgt-prod1 Pending virt-launcher pod has not yet been scheduled False 216.153.61.23fgt-prod1 Pending Guest VM is not reported as running False 216.153.61.23fgt-prod1 VirtualServerReady VirtualServerReady True 216.153.61.23 216.153.61.23
This command will also display the EXTERNAL IP attached to your FortiGate instance.
Once the STATUS changes to VirtualServerReady, you will be able to reach your FortiGate instance via HTTP or console.
It could take up to one minute for the FortiGate instance to be fully loaded and accessible.
Accessing FortiGate
There are two ways to access your newly deployed FortiGate instance. The first is by using your browser to navigate to the provisioned address of the instance, and the second is by using the virtctl console to access the instance's address.
Using HTTP
HTTPS connections to your FortiGate instance will require a license. Only HTTP or the CLI console may be used to access the instance before a license is acquired.
As shown earlier, the external IP address provisioned for the FortiGate instance can be obtained by running:
$kubectl get --watch virtualserver <name-of-fortigate-pod>
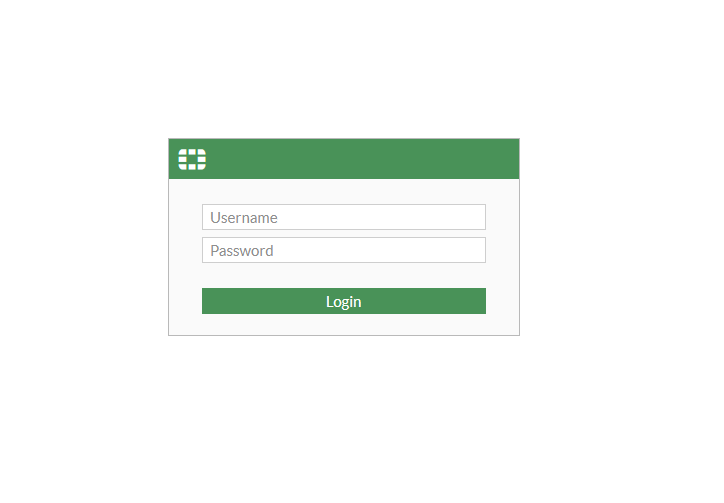
To access the instance from your browser, navigate to http://<EXTERNAL IP ADDRESS>. The default username is admin. Leave the password field empty, then click the Login button.
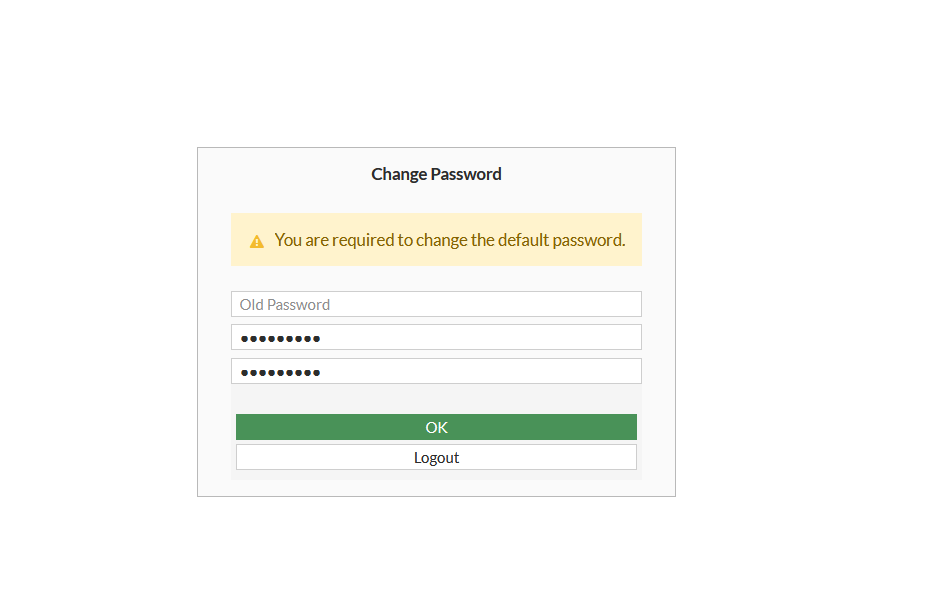
Please change your default password immediately, especially if your FortiGate is exposed to the Internet via an external IP address.
The next screen will prompt you to change your password. It is highly recommended to create a strong, unique password.
Using the virtctl console
The virtctl console can be used to access the FortiGate instance by invoking:
$virtctl console fgt-prod1
This will launch the console log-in prompts:
Successfully connected to fgt-prod1 console. The escape sequence is ^]FortiGate-VM64-KVM login: adminPassword:You are forced to change your password. Please input a new password.New Password:Confirm Password:Welcome!FortiGate-VM64-KVM #
The default username is admin. The password field should be left blank, then hit the return key.
Security
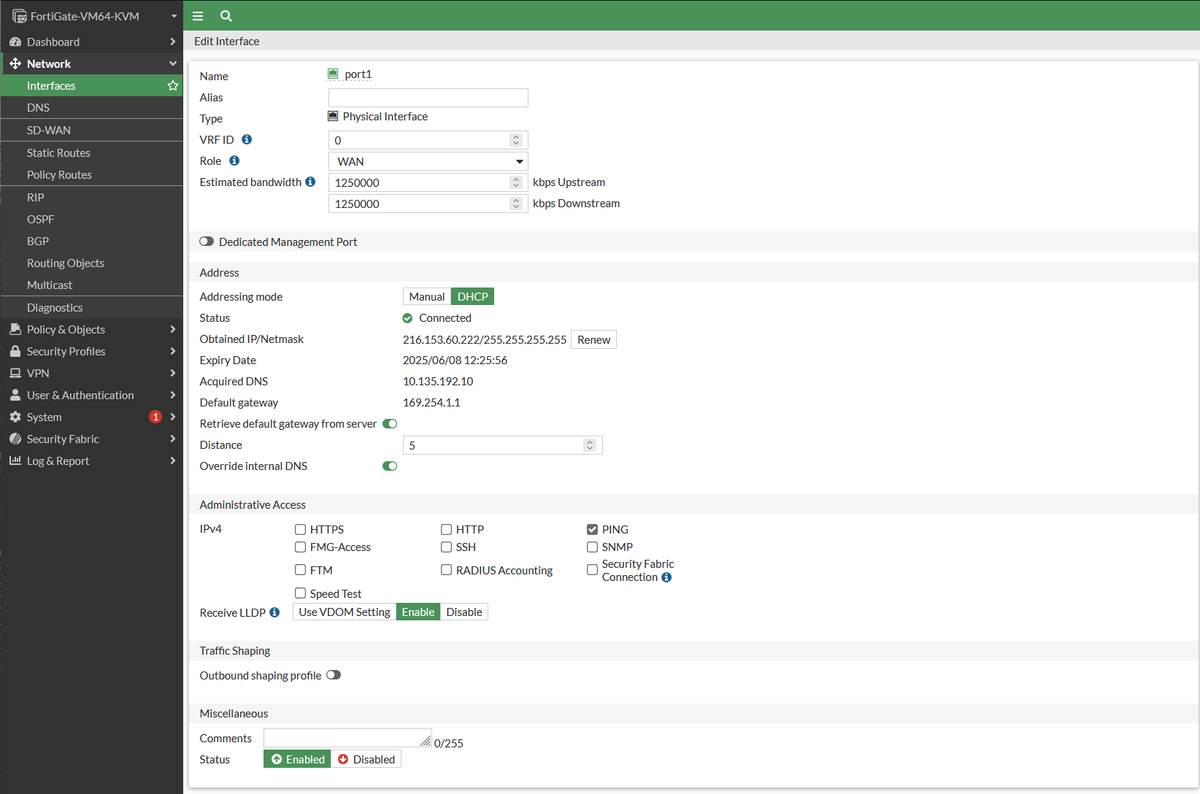
It is strongly advised to set up access to your FortiGate either via your VPC interface or via an IPSec tunnel. Then, from the Interfaces -> Administrative Access panel, disable all administrative access except for PING on the public-facing interface (port1).
Ensure that your connection is through a VPC interface or an IPSec tunnel before disabling administrative access on the WAN interface. Should you lose access, the console may be used to restore any needed permissions.
For additional information on Fortinet, consult the Fortinet Documents Library.