

Prerequisites
Before you use the UI, complete the following:- Create an account.
- Create an API key.
- A Weights & Biases project. Create a project in your CoreWeave Forge account to track usage. If you don’t specify a project, Serverless Inference uses your default team and the project name
inference.
Access the Serverless Inference service
Get started using Serverless Inference at https://forge.coreweave.com/inference.Models
To see available Serverless Inference models, chooseModels from the Serverless Inference sidebar menu or navigate to https://forge.coreweave.com/inference/models.
Double-click the model name to view model details, including pricing, features, and example code for usage.
From the model details page, you can:
- Click
Compareto view a side-by-side, complete comparison of model details to one or more other models. - Click
Playgroundto interact directly with this model in the Playground.
Playground
To try out Serverless Inference models, choosePlayground from the Serverless Inference sidebar menu or navigate to https://forge.coreweave.com/inference/playground.
Select the model you want to test using the model dropdown in the title toolbar.
The Playground can also connect to a Dedicated Inference deployment, if you have one configured.
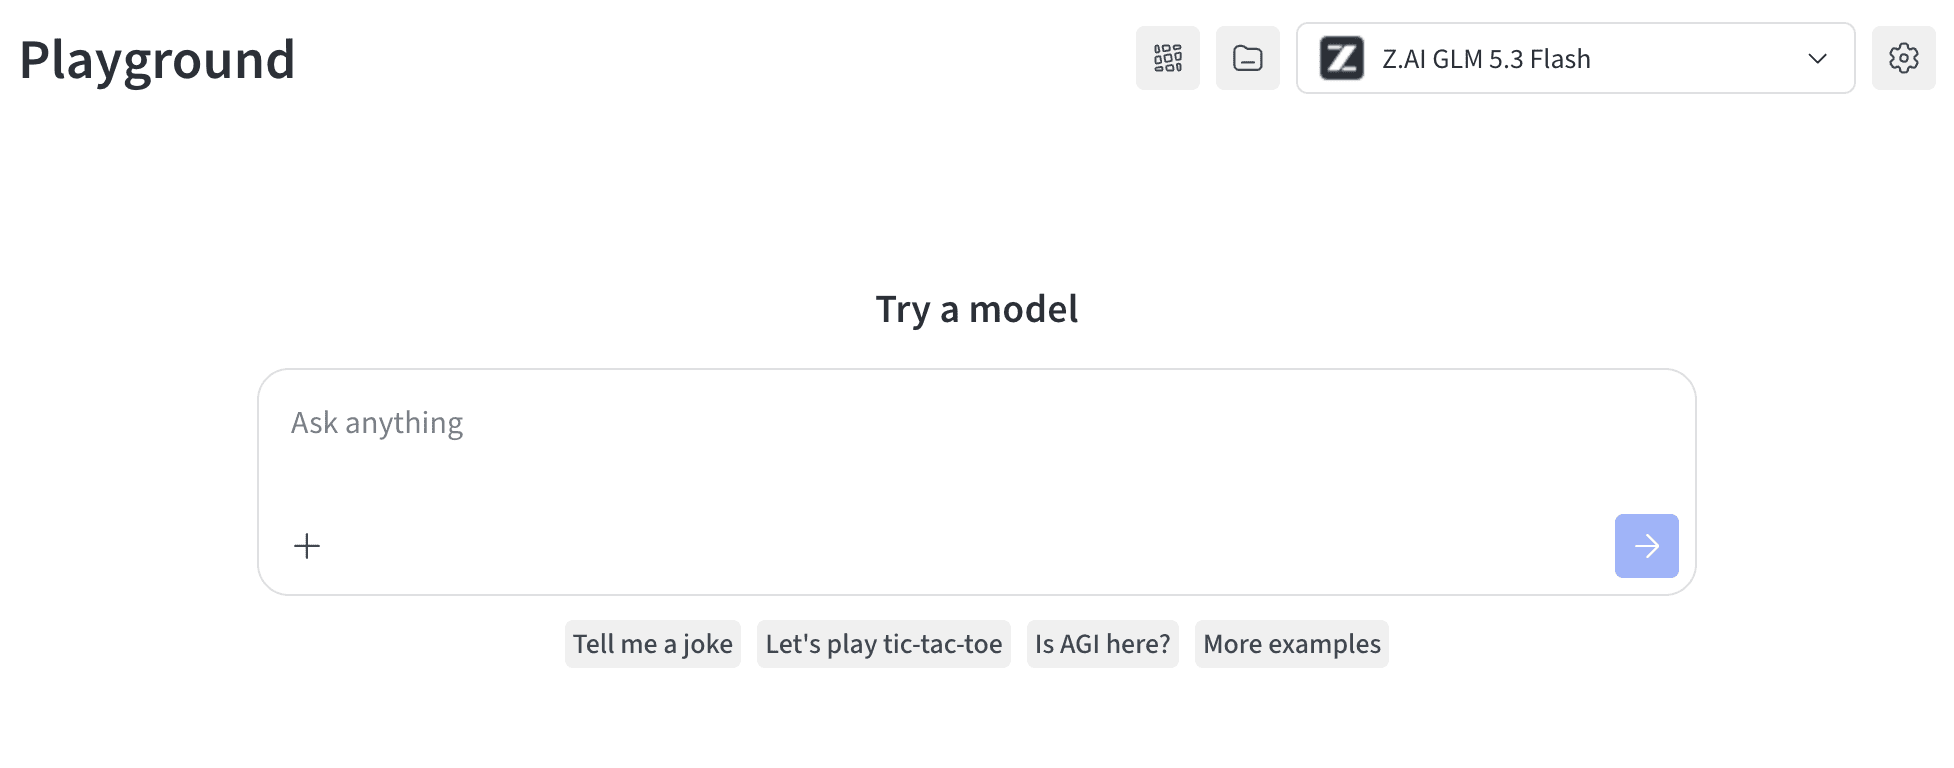
- Enable and disable Weave tracing. This records your conversation to Weave for later analysis and exploration.
- When enabled, a
View calllink appears under each message that opens the trace tree for the chat.
- When enabled, a
- Select a project. This is the project linked to your Playground conversation. If unset, it defaults to
inference. - Modify Playground settings.
In the
Add a message entry box you can also:
Add image: Upload an image from file.Add image URL: Link to an image.Specify role: Specify the role of the message being defined (System,Assistant, orUserrole).
Modify Playground settings
Click the Settings icon in the title toolbar to open the settings drawer. The drawer is organized into four collapsible sections: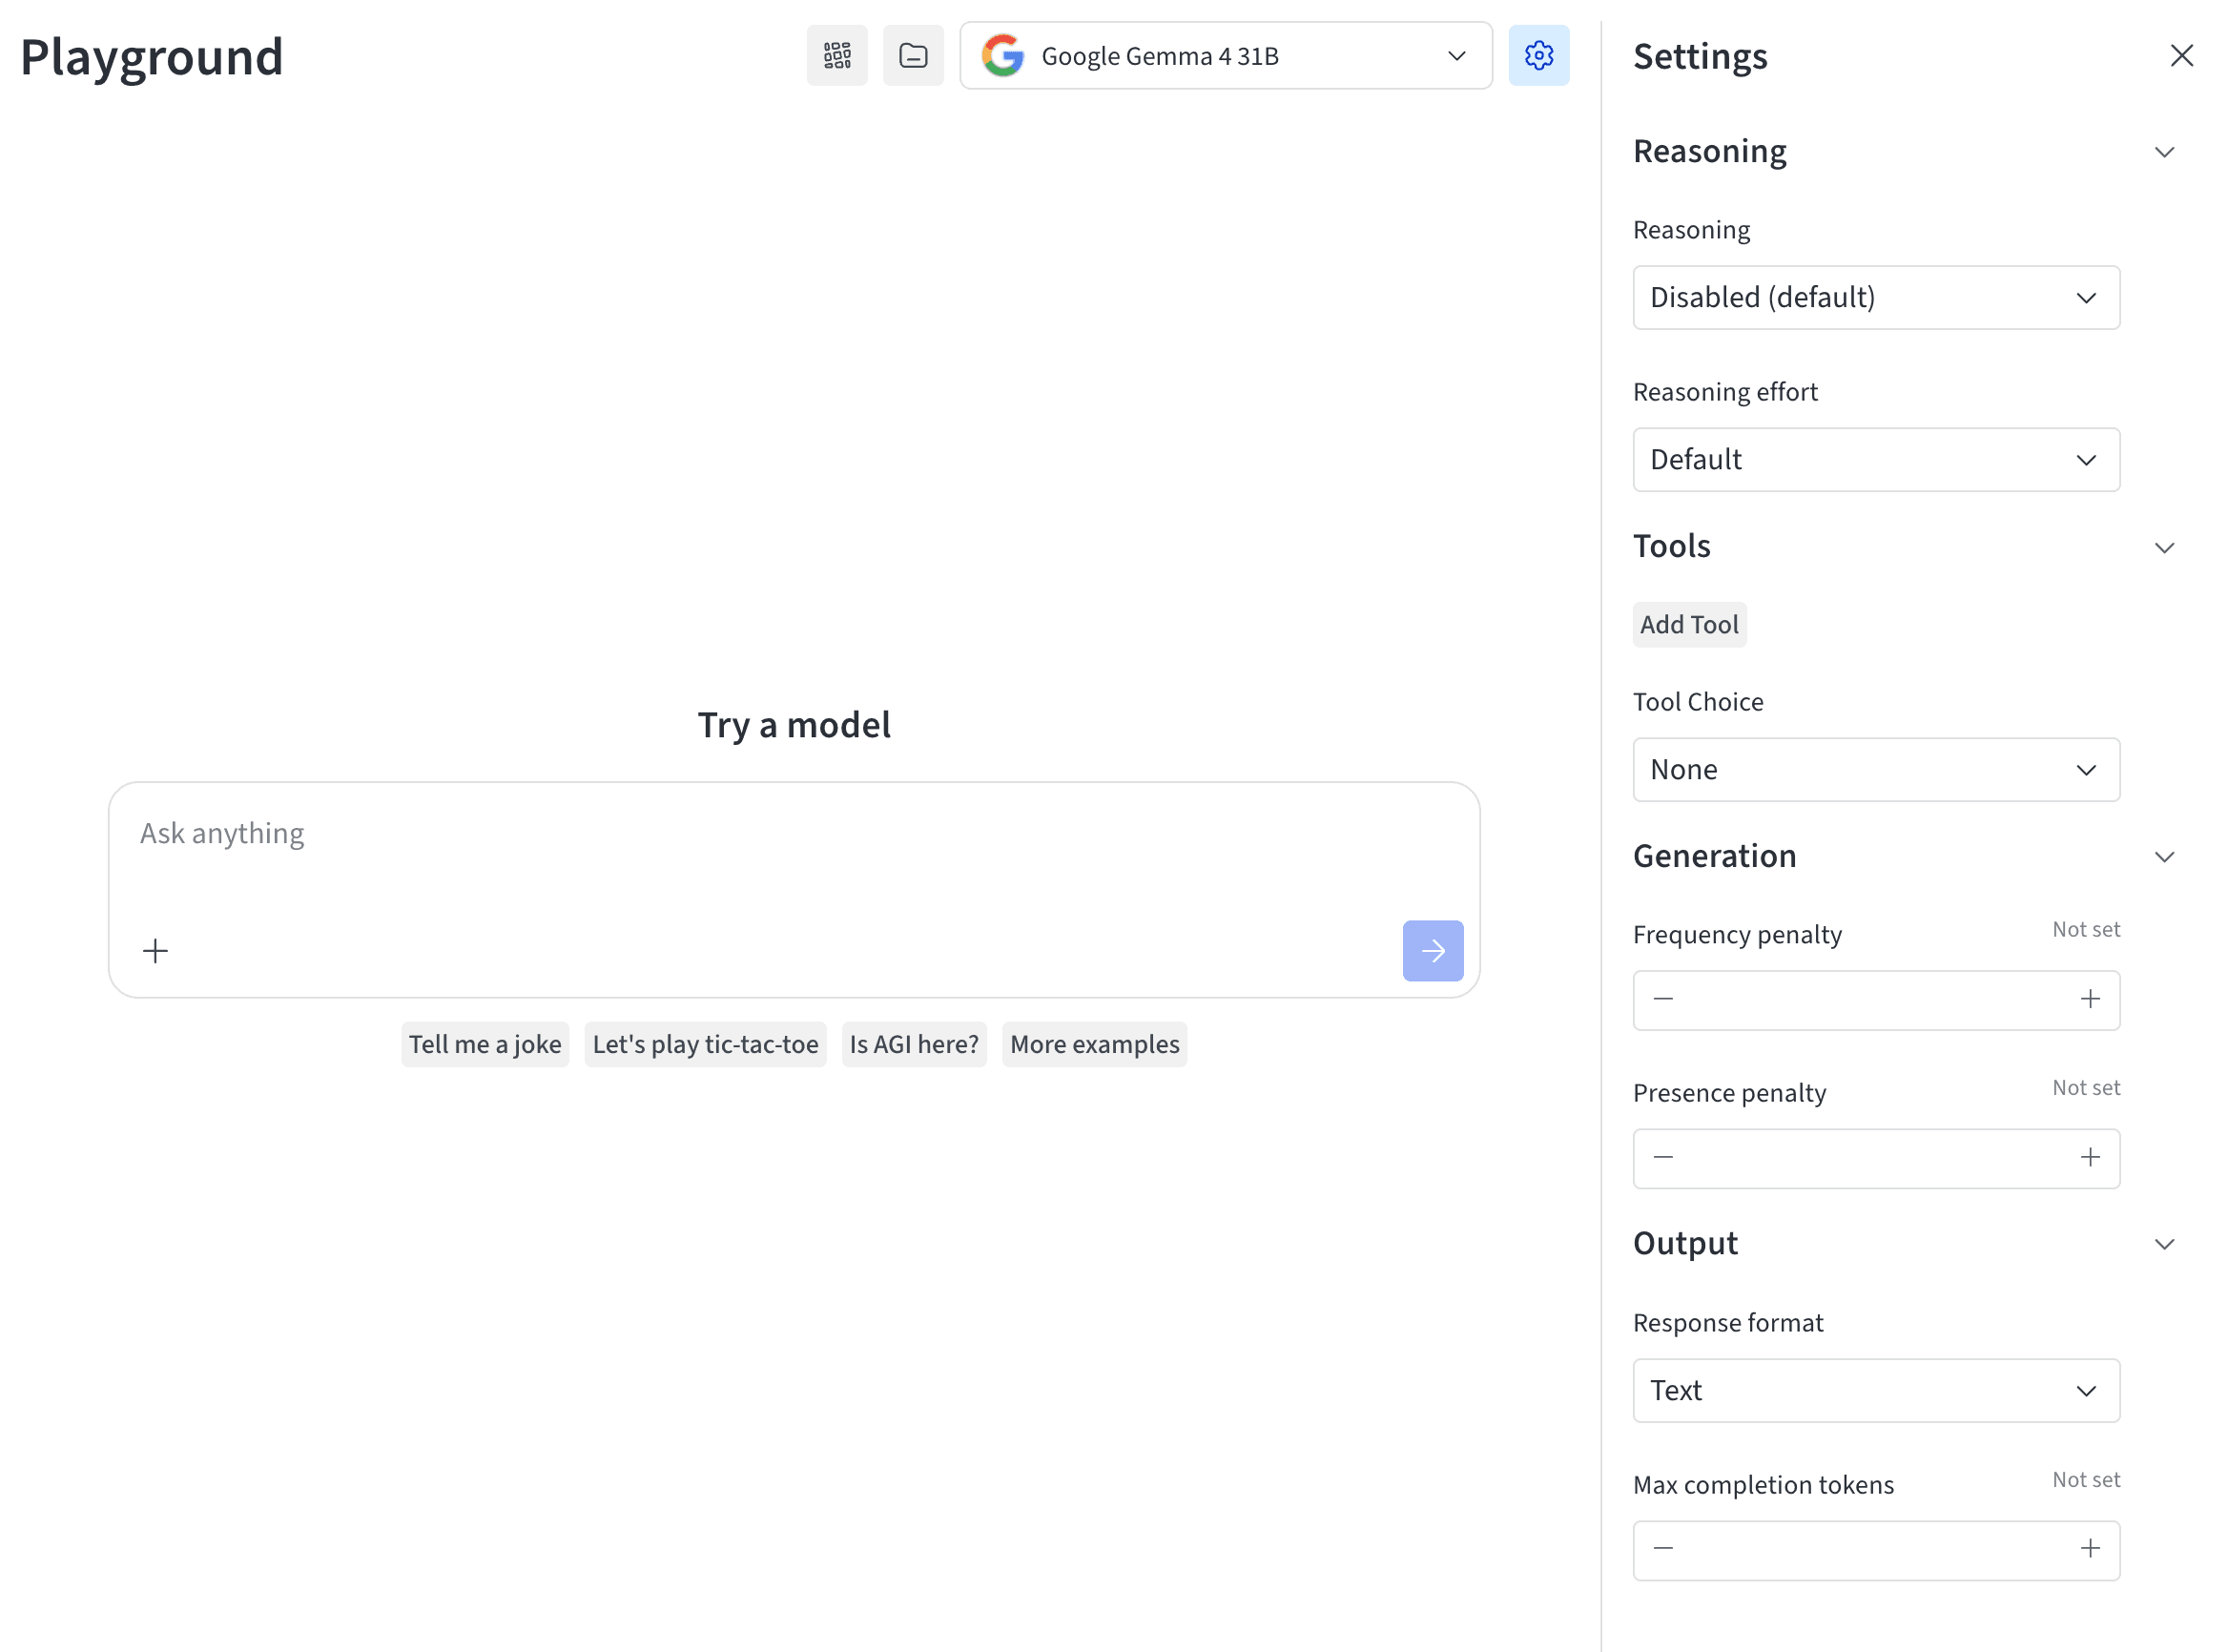
- Reasoning: Controls whether the model produces reasoning before its final answer. Not configurable for models that are always on or don’t support reasoning.
- Reasoning effort: Controls how much reasoning the model uses. Higher effort can increase latency and token usage.
- Add Tool: Define a function, with a name, description, and JSON Schema parameters, that the model can call.
- Tool Choice: Controls whether the model can’t call tools, may choose to call them, or must call one.
- Frequency penalty: Penalizes tokens in proportion to how often they already appear. Positive values reduce verbatim repetition; negative values encourage it.
- Presence penalty: Penalizes tokens that have appeared at least once. Positive values encourage new topics; negative values encourage returning to existing topics.
- Response format: Controls whether the model returns normal text, a valid JSON object, or output matching a supplied JSON Schema.
- Max completion tokens: Sets an upper bound on generated tokens, including visible output and reasoning tokens.
Next steps
- Track your billing and usage.
- Review available models to find the best one for your needs.
- Try the API for programmatic access.
- See usage examples for code samples.