

Using an App
Description
Apps allow you to automate the execution of workflows on a scheduled basis. If your input data changes regularly but your workflow remains consistent, an App enables you to automate re-runs while capturing results over time in a structured run history.Application
Use an App when:- You want to repeatedly run the same notebook with new or updated data.
- You need a versioned history of results across multiple data states.
- You want to eliminate manual runs by scheduling workflow execution.
How to Use and Configure an App
1. Prepare a Notebook
Build a notebook containing your desired workflow using supported manipulators:- Import
- Transform
- Apply
⚠️ Note:
- Do not use Model manipulators (model training) in Apps. Apps that contain a Model step will fail to run.
- Explore manipulators are partially supported: these won’t appear in run history but won’t break your App.
2. Create an App from a Notebook
- Open the notebook in the editor.
-
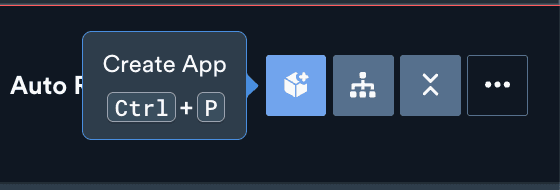
Click “Create App” in the top-right corner, or press Ctrl + P.
-
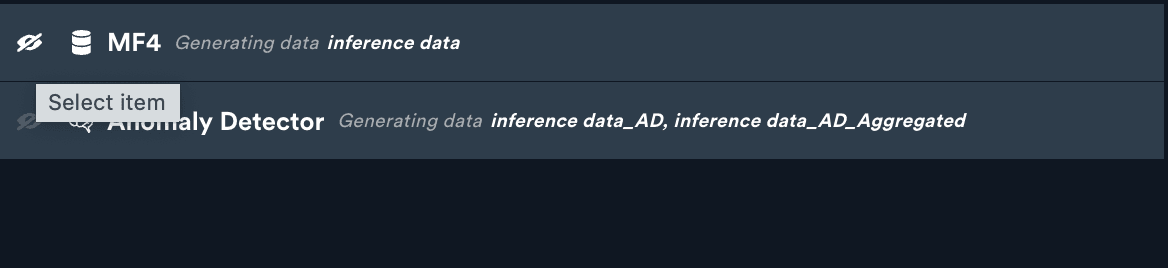
A modal will open, allowing you to select which manipulators to show or hide in run history.
- This only controls visibility, not execution.
- Currently you cannot change these settings later via the app configuration.
-
Enter a name for your app.

- Click “Create.”
- You’ll see a confirmation message and a summary view of the manipulators you selected.
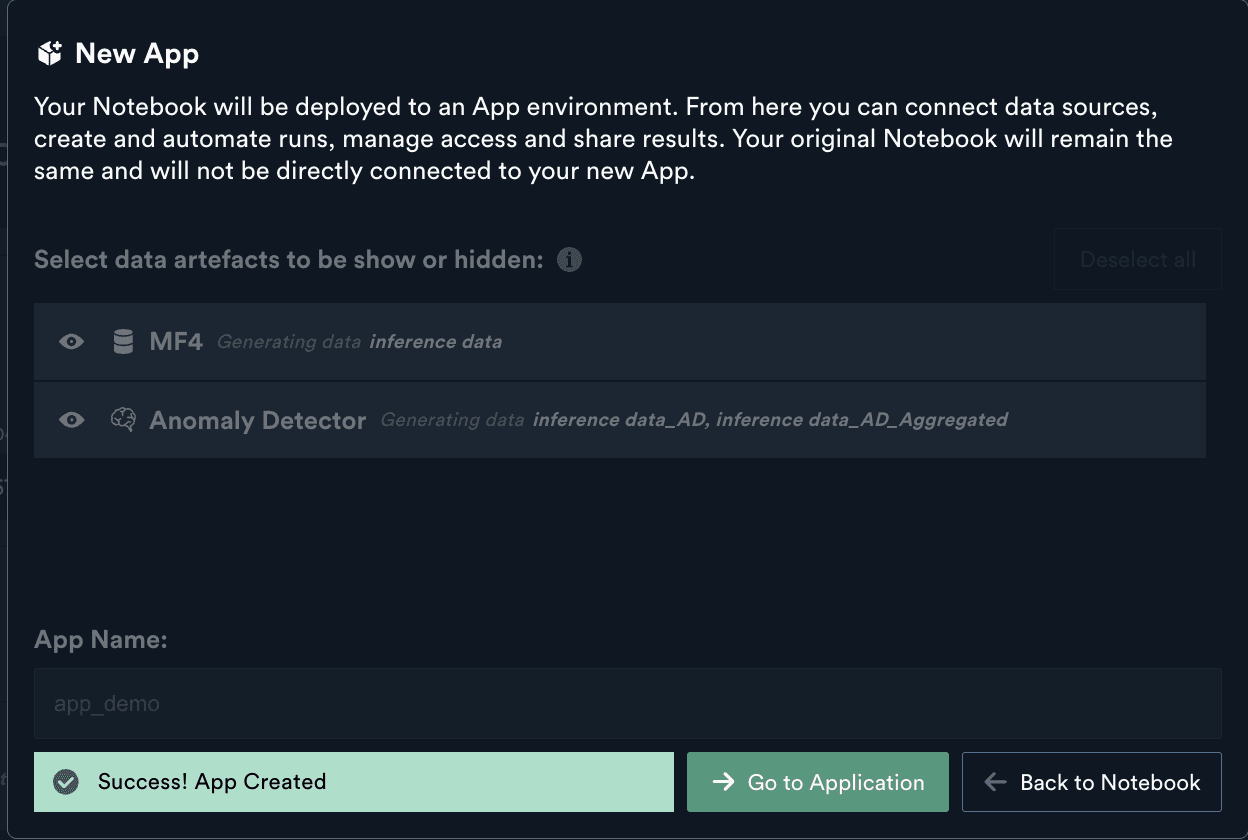
- Choose whether to go to the App page or return to the notebook.
3. Set Up Automation
There are two ways to access your App- From the confirmation screen, click “Go to Application”.
- Or, navigate to “My Content” and open the App (it will be in the same folder as its source notebook).
-
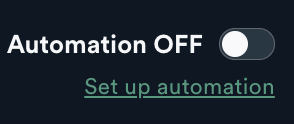
Click “Setup Automation” in the top-right corner of the App view.
- In the automation modal, configure the following:
Automation Settings
- Run Frequency:
- Minimum frequency: Every 30 minutes
This is the shortest interval currently supported by the platform. - Need more frequent runs? Contact the support team to explore custom configurations.
- Recommended maximum: Between 12 to 48 hours
This range balances automation usefulness with system efficiency and reliability. - Technical maximum: There is no enforced upper limit. You can schedule runs at intervals of hundreds of hours, though this is rarely necessary in practice.
- Minimum frequency: Every 30 minutes
- Start and End Times:
- Define when the automation should start (today or a future date).
- Optionally set an end time (must be after the start time).
- Select the Enable Automation toggle
- Click “Save changes” to apply the schedule.
4. Monitor Run History
- Your App will run based on the schedule.
- Visit the Run History tab after the first scheduled time (for example, 3:00 PM today).
- A spinner icon will appear for runs in progress on the right-hand side of the run list.
- You’ll be able to track results and compare past runs at any time.
Supported Manipulator Types in Apps
Use this guide to determine whether your notebook is compatible with App creation.Only certain manipulator types are supported in Apps. Notebooks that include unsupported types (like Model) will fail when run as an App.
Editing an App
How to Access and Edit an App
You can modify the automation settings of an App, but not the manipulators displayed in the run history.-
Go to “My Content” and locate the App (in the same folder as the original notebook).
📝 Note: Apps cannot currently be moved, renamed, or deleted.
- Open the App.
- Click “Change” in the top-right corner of the App view.
-
A modal will appear showing the current App settings:
- Edit run frequency, start time, or end time as needed.
- Click “Save Changes” to apply updates, or “Cancel” to discard them.
⚠️ Note: You cannot modify which manipulators are shown or hidden in the run history after creation. This setting is fixed during the initial setup.