> ## Documentation Index
> Fetch the complete documentation index at: https://docs.coreweave.com/llms.txt
> Use this file to discover all available pages before exploring further.
# CSV에서 임포트하기
> CSV 파일에서 데이터셋을 W&B Weave로 임포트하여 평가, 트레이싱 및 모델 비교 워크플로에서 사용하세요.
이것은 대화형 노트북입니다. 로컬에서 실행하거나 다음 링크를 사용할 수 있습니다:
* [Open in Google Colab](https://colab.research.google.com/github/wandb/docs/blob/main/weave/cookbooks/source/import_from_csv.ipynb)
* [View source on GitHub](https://github.com/wandb/docs/blob/main/weave/cookbooks/source/import_from_csv.ipynb)
서드파티 시스템에서 트레이스 임포트하기
이 노트북은 CSV 파일에서 과거 대화 트레이스를 W\&B Weave로 임포트하는 방법을 보여줍니다. 이를 통해 Weave instrumented 애플리케이션 외부에서 생성된 데이터를 분석하고, 모델 동작을 비교하며, 평가를 실행할 수 있습니다.
때때로 Python 또는 JavaScript 코드를 Weave 인테그레이션으로 instrument하여 GenAI 애플리케이션의 실시간 트레이스를 획득할 수 없습니다. 종종 이러한 트레이스는 나중에 CSV 또는 JSON 형식으로 제공됩니다.
이 노트북은 하위 수준 Weave Python API를 사용하여 CSV 파일에서 데이터를 추출하고 Weave로 임포트하여 분석하고 평가할 수 있도록 합니다.
이 쿡북에서 가정하는 샘플 데이터셋은 다음과 같은 구조를 가지고 있습니다:
```text theme={"system"}
conversation_id,turn_index,start_time,user_input,ground_truth,answer_text
1234,1,2024-09-04 13:05:39,This is the beginning, ['This was the beginning'], That was the beginning
1235,1,2024-09-04 13:02:11,This is another trace,, That was another trace
1235,2,2024-09-04 13:04:19,This is the next turn,, That was the next turn
1236,1,2024-09-04 13:02:10,This is a 3 turn conversation,, Woah thats a lot of turns
1236,2,2024-09-04 13:02:30,This is the second turn, ['That was definitely the second turn'], You are correct
1236,3,2024-09-04 13:02:53,This is the end,, Well good riddance!
```
이 노트북에서 임포트에 대한 결정을 이해하려면, Weave 트레이스가 1:다이고 연속적인 부모-자식 관계를 가진다는 점을 기억하세요. 단일 부모는 여러 자식을 가질 수 있으며, 그 부모 자체가 다른 부모의 자식일 수 있습니다.
이 노트북은 `conversation_id`를 부모 식별자로, `turn_index`를 자식 식별자로 사용하여 완전한 대화 로깅을 제공합니다.
자신의 데이터셋, 파일 경로 및 Weights & Biases 프로젝트에 맞게 다음 섹션의 변수를 수정해야 합니다.
환경 설정
필요한 패키지를 모두 설치하고 임포트하세요.
`WANDB_API_KEY`를 환경에 설정하여 `wandb.login()`으로 로그인할 수 있도록 하세요 (Colab에는 시크릿으로 제공하세요).
Colab에 업로드할 파일의 이름을 `name_of_file`에 설정하고, 로깅할 Weights & Biases 프로젝트를 `name_of_wandb_project`에 설정하세요.
`name_of_wandb_project`은 `[TEAM_NAME]/[PROJECT_NAME]` 형식으로도 사용할 수 있으며, 트레이스를 로깅할 팀을 지정할 수 있습니다.
그런 다음 `weave.init()`을 호출하여 Weave 클라이언트를 가져오세요.
```python lines theme={"system"}
%pip install wandb weave pandas datetime --quiet
python
import os
import pandas as pd
import wandb
from google.colab import userdata
import weave
## 샘플 파일을 디스크에 쓰기
with open("/content/import_cookbook_data.csv", "w") as f:
f.write(
"conversation_id,turn_index,start_time,user_input,ground_truth,answer_text\n"
)
f.write(
'1234,1,2024-09-04 13:05:39,This is the beginning, ["This was the beginning"], That was the beginning\n'
)
f.write(
"1235,1,2024-09-04 13:02:11,This is another trace,, That was another trace\n"
)
f.write(
"1235,2,2024-09-04 13:04:19,This is the next turn,, That was the next turn\n"
)
f.write(
"1236,1,2024-09-04 13:02:10,This is a 3 turn conversation,, Woah thats a lot of turns\n"
)
f.write(
'1236,2,2024-09-04 13:02:30,This is the second turn, ["That was definitely the second turn"], You are correct\n'
)
f.write("1236,3,2024-09-04 13:02:53,This is the end,, Well good riddance!\n")
os.environ["WANDB_API_KEY"] = userdata.get("WANDB_API_KEY")
name_of_file = "/content/import_cookbook_data.csv"
name_of_wandb_project = "import-weave-traces-cookbook"
wandb.login()
python
weave_client = weave.init(name_of_wandb_project)
```
데이터 로드
환경이 준비되면 CSV 데이터를 로드하고 형태를 조정하여 Weave가 기대하는 부모-자식 구조와 일치하도록 할 수 있습니다.
데이터를 pandas 데이터프레임으로 로드하고, `conversation_id`와 `turn_index`로 정렬하여 부모와 자식이 올바르게 정렬되도록 합니다.
이렇게 하면 `conversation_data` 아래에 대화 턴이 배열로 포함된 2열 pandas 데이터프레임이 생성됩니다.
```python lines theme={"system"}
## Load data and shape it
df = pd.read_csv(name_of_file)
sorted_df = df.sort_values(["conversation_id", "turn_index"])
# Function to create an array of dictionaries for each conversation
def create_conversation_dict_array(group):
return group.drop("conversation_id", axis=1).to_dict("records")
# conversation_id로 데이터프레임을 그룹화하고 집계를 적용합니다
result_df = (
sorted_df.groupby("conversation_id")
.apply(create_conversation_dict_array)
.reset_index()
)
result_df.columns = ["conversation_id", "conversation_data"]
# Show how our aggregation looks
result_df.head()
```
트레이스를 Weave에 로깅하기
데이터를 대화와 턴으로 구성한 후, 다음 단계는 해당 레코드를 부모 Call과 자식 Call로 Weave에 기록하는 것입니다.
pandas 데이터프레임을 순회합니다:
* `conversation_id`마다 부모 Call을 생성합니다.
* 턴 배열을 순회하여 `turn_index` 순으로 정렬된 자식 Call을 생성합니다.
하위 수준 Python API의 주요 개념:
* Weave Call은 Weave 트레이스와 동일합니다. 이 Call은 연결된 부모 또는 자식을 가질 수 있습니다.
* Weave Call은 피드백 및 메타데이터와 같이 연결된 다른 항목을 가질 수 있습니다. 이 예제에서는 입력과 출력만 연결하지만, 데이터가 제공하는 경우 임포트 시 이러한 다른 항목을 추가할 수 있습니다.
* Weave Call은 실시간으로 추적하기 위한 것이므로 `created` 및 `finished` 상태입니다. 이 작업은 사후 임포트이므로 object가 정의되고 서로 연결된 후에 한 번 생성하고 완료합니다.
* Call의 `op` 값은 Weave가 동일한 구성을 가진 Call을 분류하는 방식입니다. 이 예제에서 모든 부모 Call은 `Conversation` 유형이고, 모든 자식 Call은 `Turn` 유형입니다. 필요에 따라 수정할 수 있습니다.
* Call은 `inputs`와 `output`을 가질 수 있습니다. `inputs`는 생성 시 정의되고, `output`은 Call이 완료될 때 정의됩니다.
```python lines theme={"system"}
# Weave에 트레이스 로깅하기
# 집계된 대화를 순회합니다
for _, row in result_df.iterrows():
# 대화 부모를 정의합니다.
# 이전에 정의한 weave_client로 "call"을 생성합니다
parent_call = weave_client.create_call(
# Op 값은 이를 Weave Op로 등록하여 나중에 그룹으로 쉽게 검색할 수 있게 합니다
op="Conversation",
# 상위 대화의 입력을 그 아래의 모든 턴으로 설정합니다
inputs={
"conversation_data": row["conversation_data"][:-1]
if len(row["conversation_data"]) > 1
else row["conversation_data"]
},
# Conversation 부모에는 추가 부모가 없습니다
parent=None,
# 이 특정 대화가 UI에 표시되는 이름입니다
display_name=f"conversation-{row['conversation_id']}",
)
# 부모의 출력을 대화의 마지막 트레이스로 설정합니다
parent_output = row["conversation_data"][len(row["conversation_data"]) - 1]
# 이제 부모에 대한 모든 대화 턴을 순회하며
# 대화의 자식으로 로깅합니다
for item in row["conversation_data"]:
item_id = f"{row['conversation_id']}-{item['turn_index']}"
# 여기서 다시 call을 생성하여 대화 아래에 분류합니다
call = weave_client.create_call(
# 단일 대화 트레이스를 "Turn"으로 분류합니다
op="Turn",
# RAG 'ground_truth'를 포함한 턴의 모든 입력을 제공합니다
inputs={
"turn_index": item["turn_index"],
"start_time": item["start_time"],
"user_input": item["user_input"],
"ground_truth": item["ground_truth"],
},
# 이를 정의한 부모의 자식으로 설정합니다
parent=parent_call,
# Weave에서 ID로 사용할 이름을 제공합니다
display_name=item_id,
)
# call의 출력을 답변으로 설정합니다
output = {
"answer_text": item["answer_text"],
}
# 이미 발생한 트레이스이므로 단일 턴 call을 종료합니다
weave_client.finish_call(call=call, output=output)
# 모든 자식을 로깅했으므로 부모 call도 종료합니다
weave_client.finish_call(call=parent_call, output=parent_output)
```
결과: Weave에 로깅된 트레이스
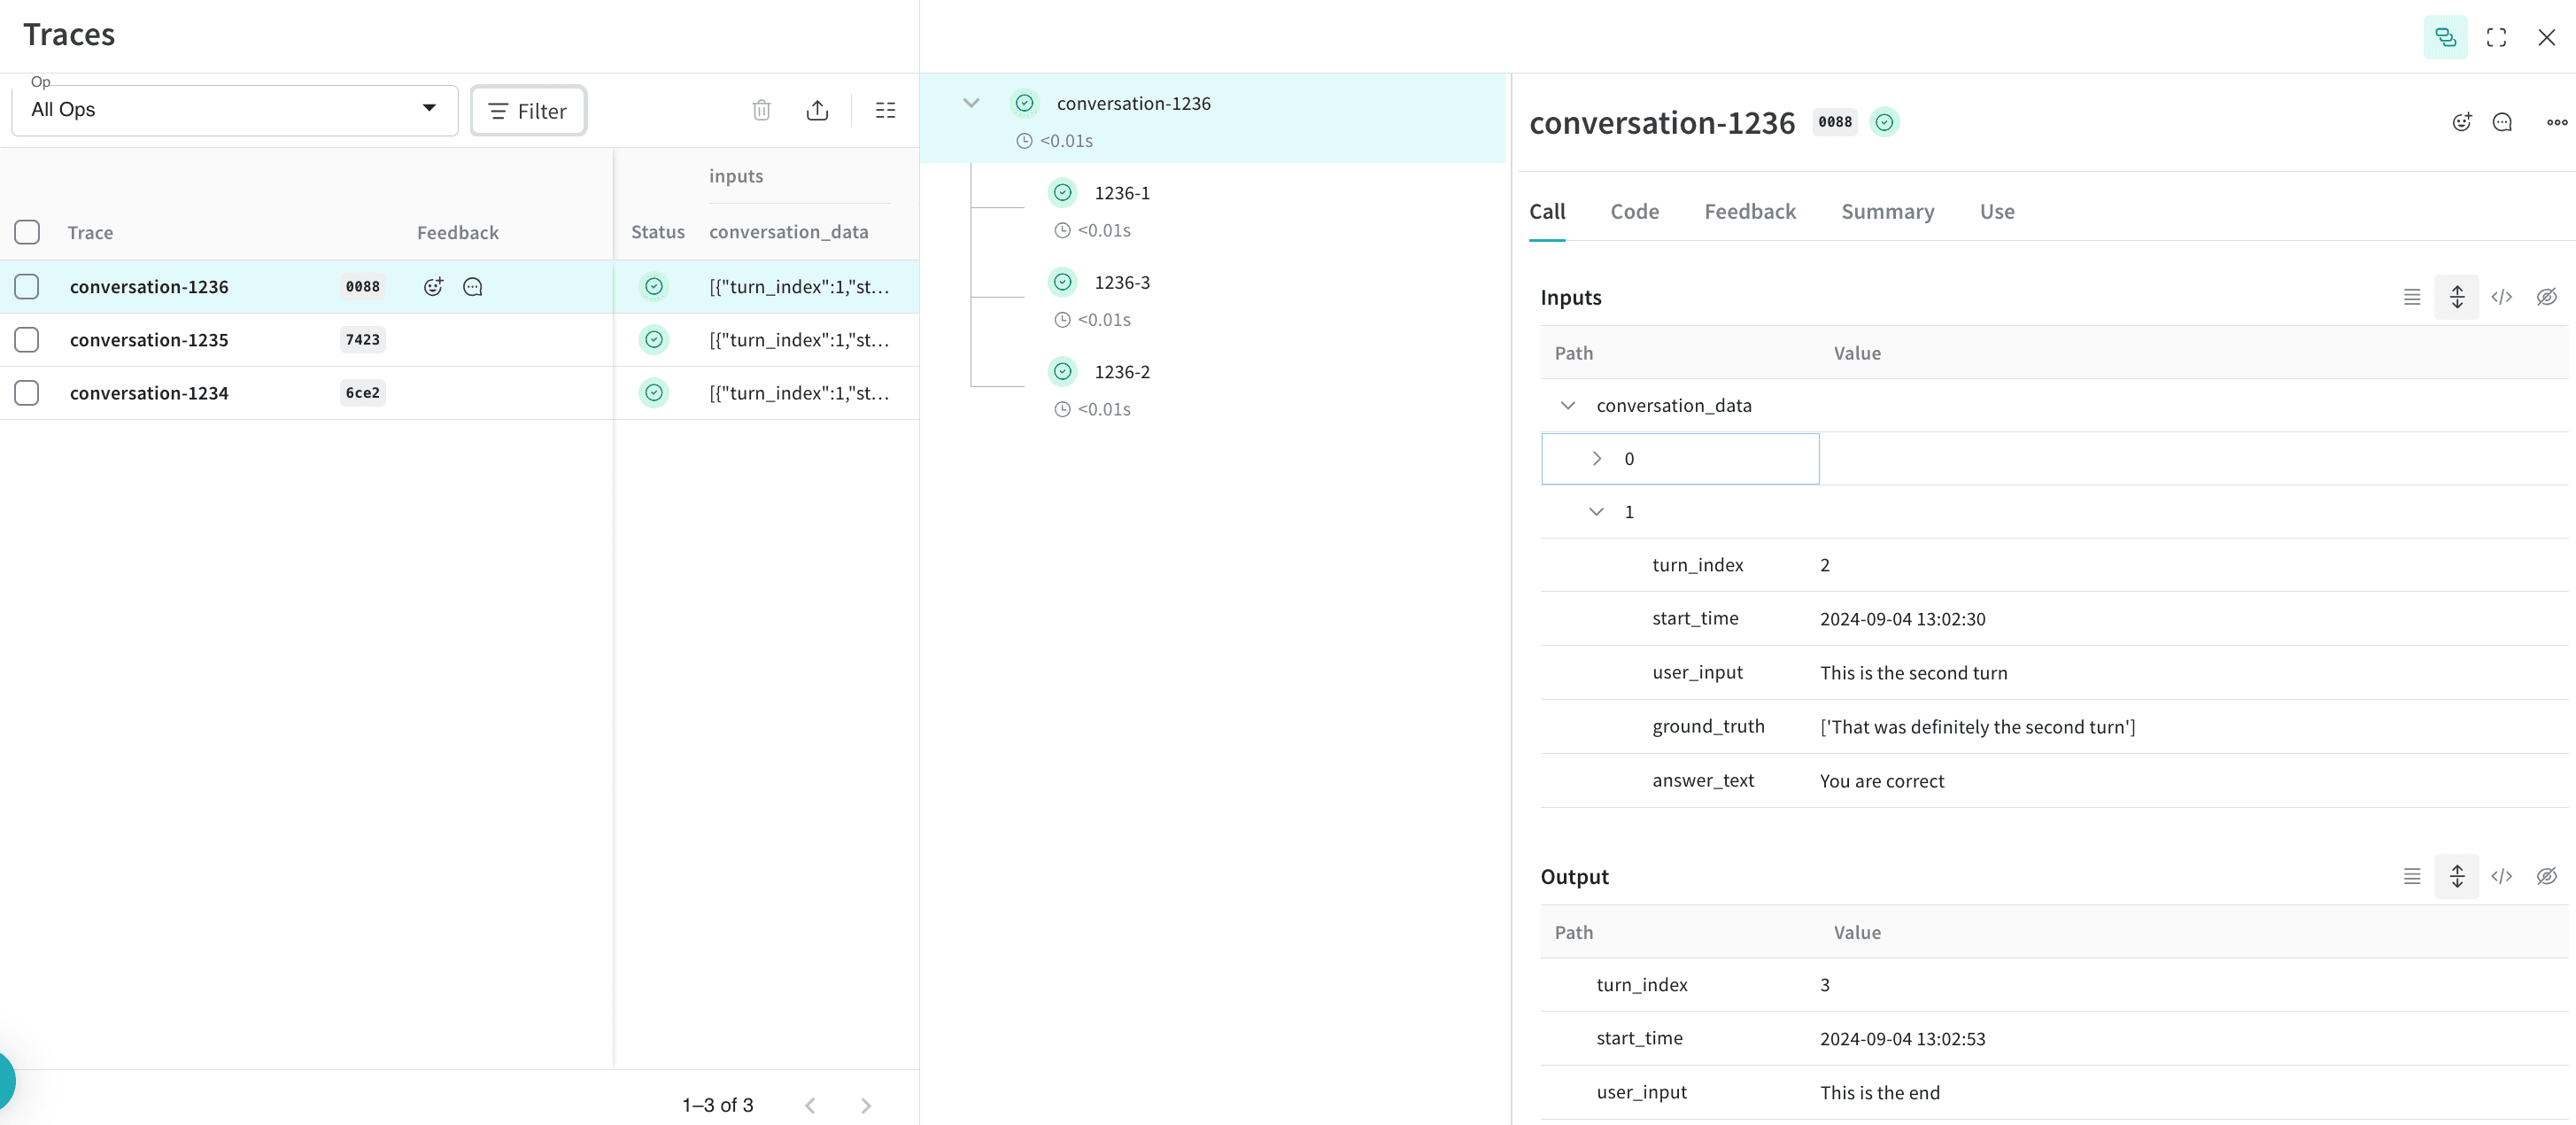
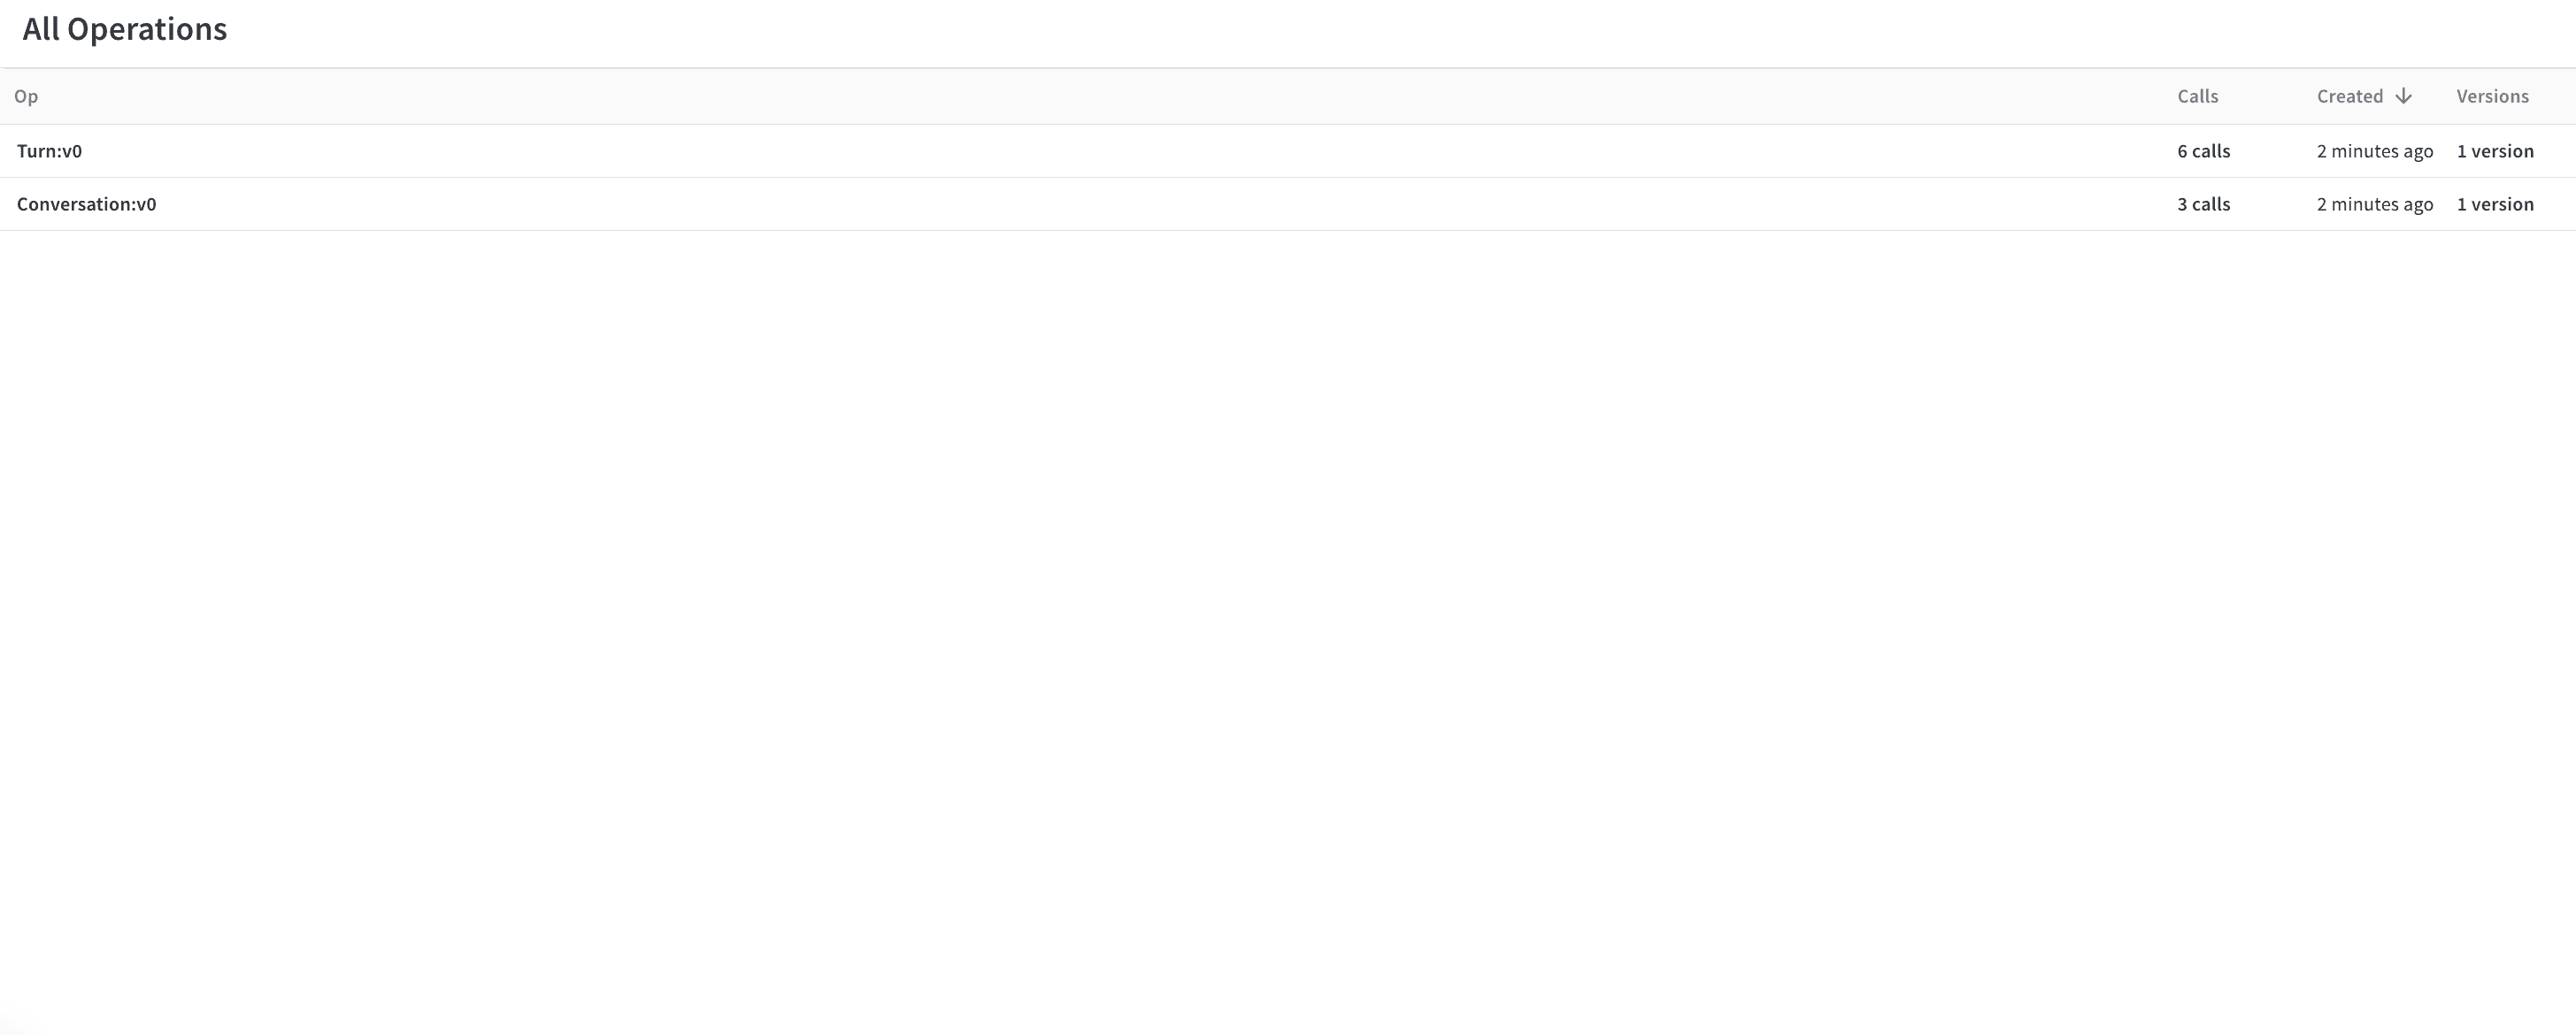
이 시점에서 CSV 데이터가 Weave로 임포트되었습니다. 이제 Weights & Biases UI에서 `Conversation` 및 `Turn` 오퍼레이션 아래에 그룹화된 대화와 턴을 탐색할 수 있습니다.
트레이스:
 오퍼레이션:
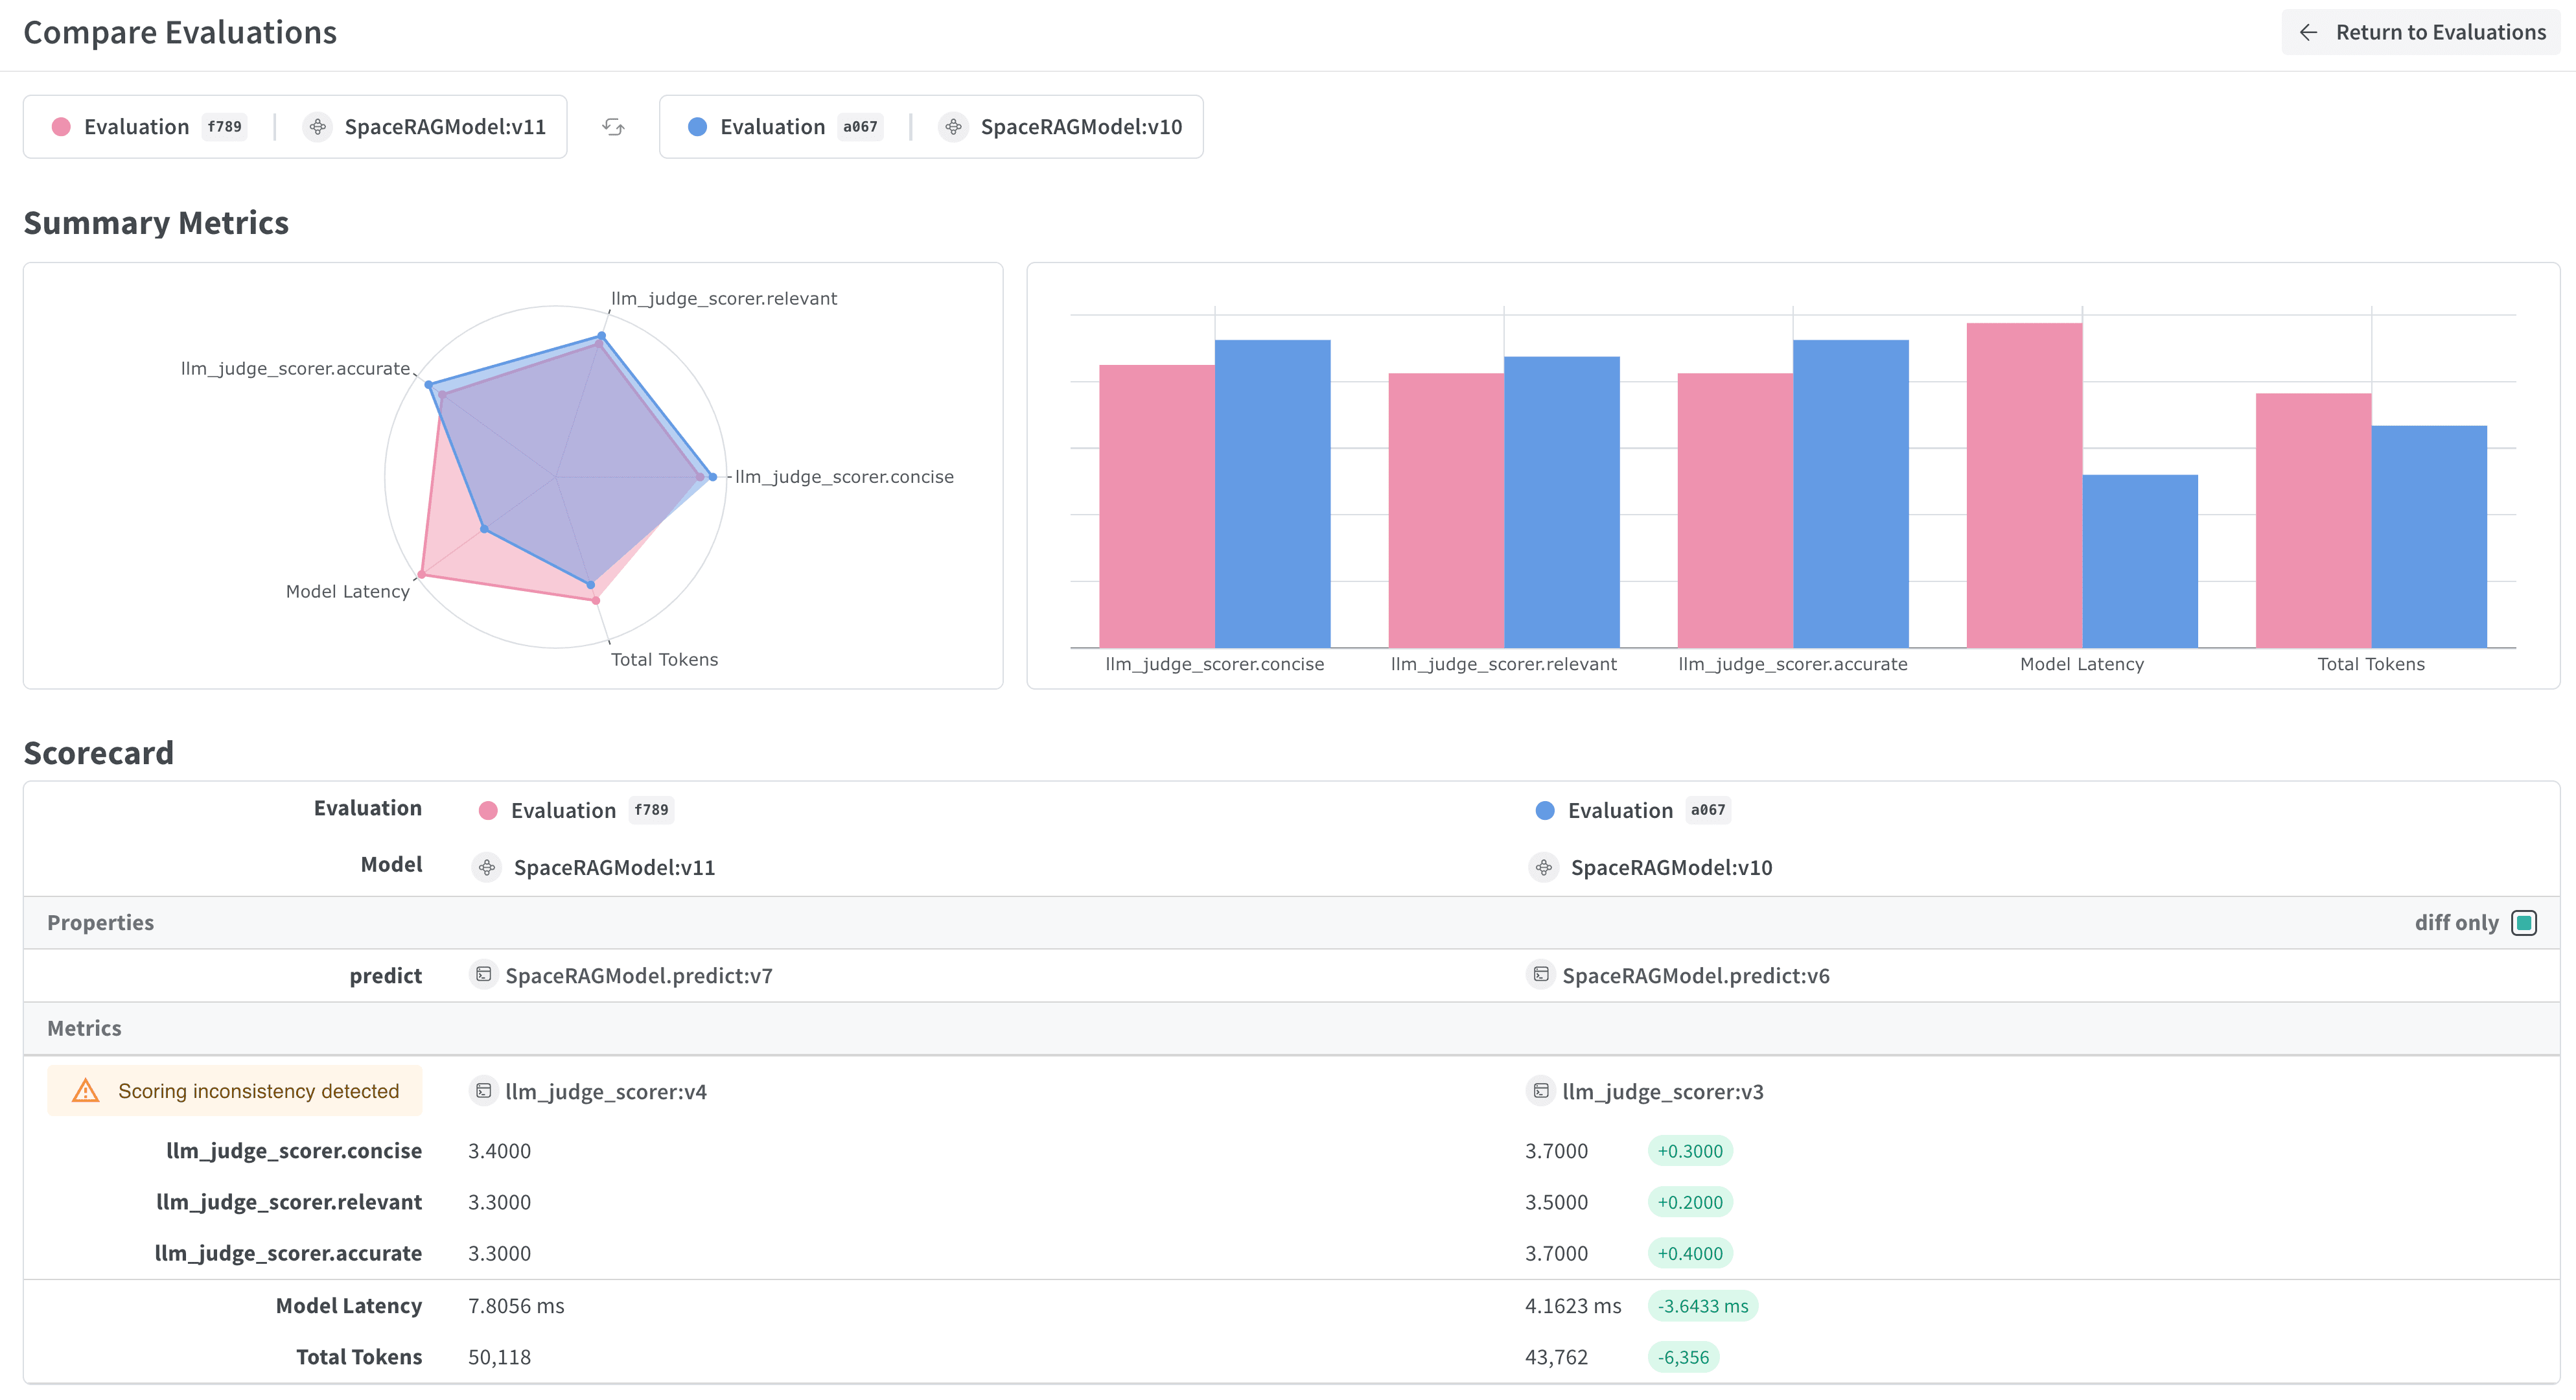
선택: 트레이스를 내보내 평가 실행하기
트레이스가 Weave에 있고 대화가 어떻게 보이는지 이해했다면, 이를 다른 프로세스로 내보내 Weave 평가를 실행할 수 있습니다.
 이렇게 하려면 W\&B에서 쿼리 API를 통해 모든 대화를 가져와 데이터셋을 만드세요.
```python lines theme={"system"}
## 이 셀은 기본적으로 실행되지 않습니다. 아래 줄을 주석 처리하여 이 스크립트를 실행하세요
%%script false --no-raise-error
## 대화 트레이스를 모두 조회하여 eval용 데이터셋을 준비합니다
# 프로젝트의 모든 대화 object를 가져오는 쿼리 필터를 생성합니다
# 아래 ref는 프로젝트에 따라 다르며, 프로젝트의 Operations에서 "Conversations"
# object를 클릭한 후 사이드 패널의 "Use" 탭에서 확인할 수 있습니다.
weave_ref_for_conversation_op = "weave://wandb-smle/import-weave-traces-cookbook/op/Conversation:tzUhDyzVm5bqQsuqh5RT4axEXSosyLIYZn9zbRyenaw"
filter = weave.trace_server.trace_server_interface.CallsFilter(
op_names=[weave_ref_for_conversation_op],
)
# 쿼리를 실행합니다
conversation_traces = weave_client.get_calls(filter=filter)
rows = []
# 대화 트레이스를 순회하며 데이터셋 행을 구성합니다
for single_conv in conversation_traces:
# 이 예제에서는 RAG 파이프라인을 사용한 대화만 대상으로 하므로
# 해당 유형의 대화를 필터링합니다
is_rag = False
for single_trace in single_conv.inputs['conversation_data']:
if single_trace['ground_truth'] is not None:
is_rag = True
break
if single_conv.output['ground_truth'] is not None:
is_rag = True
# RAG를 사용한 대화를 식별한 후 데이터셋에 추가합니다
if is_rag:
inputs = []
ground_truths = []
answers = []
# 대화의 모든 turn을 순회합니다
for turn in single_conv.inputs['conversation_data']:
inputs.append(turn.get('user_input', ''))
ground_truths.append(turn.get('ground_truth', ''))
answers.append(turn.get('answer_text', ''))
## 단일 turn 대화인 경우를 처리합니다
if len(single_conv.inputs) != 1 or single_conv.inputs['conversation_data'][0].get('turn_index') != single_conv.output.get('turn_index'):
inputs.append(single_conv.output.get('user_input', ''))
ground_truths.append(single_conv.output.get('ground_truth', ''))
answers.append(single_conv.output.get('answer_text', ''))
data = {
'question': inputs,
'contexts': ground_truths,
'answer': answers
}
rows.append(data)
# 데이터셋 행을 생성한 후 Dataset object를 만들고
# 나중에 조회할 수 있도록 Weave에 publish합니다
dset = weave.Dataset(name = "conv_traces_for_eval", rows=rows)
weave.publish(dset)
```
이렇게 하려면 W\&B에서 쿼리 API를 통해 모든 대화를 가져와 데이터셋을 만드세요.
```python lines theme={"system"}
## 이 셀은 기본적으로 실행되지 않습니다. 아래 줄을 주석 처리하여 이 스크립트를 실행하세요
%%script false --no-raise-error
## 대화 트레이스를 모두 조회하여 eval용 데이터셋을 준비합니다
# 프로젝트의 모든 대화 object를 가져오는 쿼리 필터를 생성합니다
# 아래 ref는 프로젝트에 따라 다르며, 프로젝트의 Operations에서 "Conversations"
# object를 클릭한 후 사이드 패널의 "Use" 탭에서 확인할 수 있습니다.
weave_ref_for_conversation_op = "weave://wandb-smle/import-weave-traces-cookbook/op/Conversation:tzUhDyzVm5bqQsuqh5RT4axEXSosyLIYZn9zbRyenaw"
filter = weave.trace_server.trace_server_interface.CallsFilter(
op_names=[weave_ref_for_conversation_op],
)
# 쿼리를 실행합니다
conversation_traces = weave_client.get_calls(filter=filter)
rows = []
# 대화 트레이스를 순회하며 데이터셋 행을 구성합니다
for single_conv in conversation_traces:
# 이 예제에서는 RAG 파이프라인을 사용한 대화만 대상으로 하므로
# 해당 유형의 대화를 필터링합니다
is_rag = False
for single_trace in single_conv.inputs['conversation_data']:
if single_trace['ground_truth'] is not None:
is_rag = True
break
if single_conv.output['ground_truth'] is not None:
is_rag = True
# RAG를 사용한 대화를 식별한 후 데이터셋에 추가합니다
if is_rag:
inputs = []
ground_truths = []
answers = []
# 대화의 모든 turn을 순회합니다
for turn in single_conv.inputs['conversation_data']:
inputs.append(turn.get('user_input', ''))
ground_truths.append(turn.get('ground_truth', ''))
answers.append(turn.get('answer_text', ''))
## 단일 turn 대화인 경우를 처리합니다
if len(single_conv.inputs) != 1 or single_conv.inputs['conversation_data'][0].get('turn_index') != single_conv.output.get('turn_index'):
inputs.append(single_conv.output.get('user_input', ''))
ground_truths.append(single_conv.output.get('ground_truth', ''))
answers.append(single_conv.output.get('answer_text', ''))
data = {
'question': inputs,
'contexts': ground_truths,
'answer': answers
}
rows.append(data)
# 데이터셋 행을 생성한 후 Dataset object를 만들고
# 나중에 조회할 수 있도록 Weave에 publish합니다
dset = weave.Dataset(name = "conv_traces_for_eval", rows=rows)
weave.publish(dset)
```
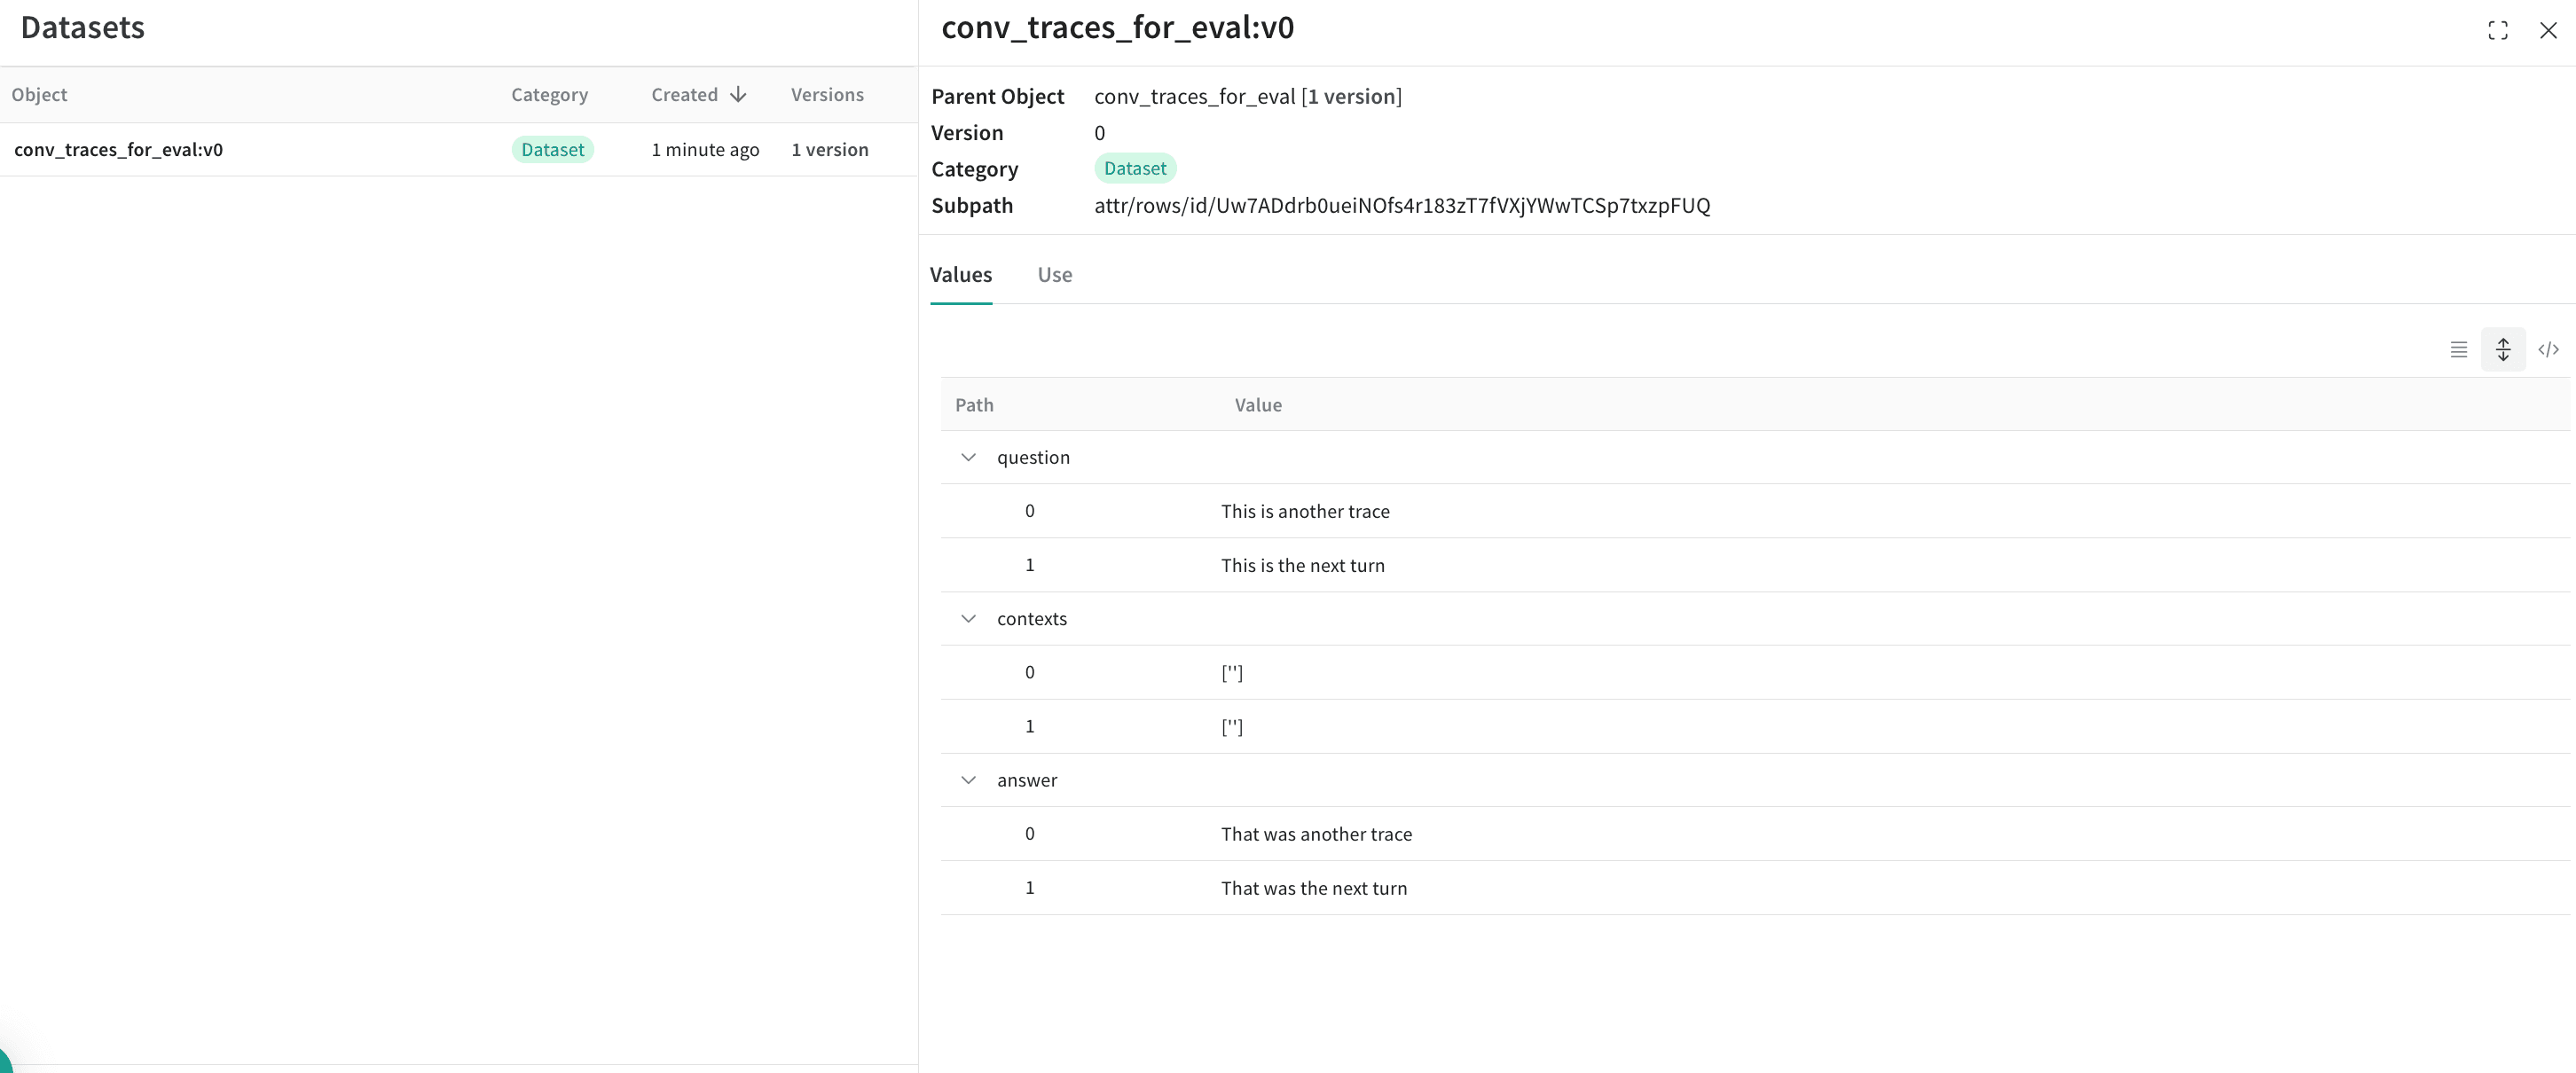
결과
내보낸 데이터셋이 이제 Weave에 다시 게시되었으며 평가의 입력으로 사용할 준비가 되었습니다.
 평가에 대해 자세히 알아보려면, 새로 만든 데이터셋을 사용하여 RAG application을 평가하는 [퀵스타트](/ko/products/wandb/weave/tutorial-rag)를 참조하세요.
## Related topics
- [실험과 함께 CSV 파일 추적하기](/ko/products/wandb/track/log/working-with-csv.md)
평가에 대해 자세히 알아보려면, 새로 만든 데이터셋을 사용하여 RAG application을 평가하는 [퀵스타트](/ko/products/wandb/weave/tutorial-rag)를 참조하세요.
## Related topics
- [실험과 함께 CSV 파일 추적하기](/ko/products/wandb/track/log/working-with-csv.md)